
In my previous article Adding Texture to Your Layouts, I demonstrated how to use the Texturizer filter in Photoshop (PS) and Photoshop Elements (PE). This technique actually added a texture by embossing it onto your layout.
Another way to add texture is to simply add some kind of pattern. Both PS and PE have several sets of patterns from which to choose. A pattern may be applied directly to a layer or selection by using the Paint Bucket tool set to Pattern. Using this method, the only options available are opacity and mode. There is no control over the scale of the pattern using this method. Also, the pattern cannot be edited after applying it.
My preferred method for both PS and PE is to add a Pattern adjustment layer. You do this by clicking on the little black/white beach ball icon on the Layers Palette and choosing Pattern. If you are wanting to apply a pattern just to one specific layer, you should be sure to hold down Alt before trying to add the adjustment layer. When you use this method, you must click and hold on the beach ball icon. You will get a pop up dialog and you must be sure to check off the check box that is available. In PS CS3, mine says "Use Previous Layer to create Clipping Mask" but in other versions of PS and in PE, I believe that it says something about grouping with previous layer. Then click OK to apply the adjustment layer and choose the pattern that you want. (You must do this so that the pattern only affects the layer directly below it. If you don't group, the pattern will be applied to every layer below it.)
Using the adjustment layer method, you will have the ability to adjust the scale of the pattern. Also, because you are using an adjustment layer, at any time you may double-click on the thumbnail of that layer to edit the scale and/or pattern.
There are several pattern sets available to you:
To get to these different sets, once you have the Patterns before you, you click on the right-facing arrow and choose from the list. You may also choose to load or replace the pattern sets with ones you have downloaded or created.
After choosing a pattern, return to the Layers Palette and try different layer blend modes. I generally make use of Multiply, Color Burn, Linear Burn, Overlay, Soft Light, Hard Light, Vivid Light and Luminosity. You may also adjust the opacity of these, though this will limit not only the color produced with your layer or selection but also the pattern itself.
Don't discount some of the more garish patterns, especially the colored ones. Even if the color is not what you want, there is a simple trick to use that pattern the way you want! The trick is simply to use a different blend mode for the adjustment layer! Quite often, I will use luminosity for a colored pattern but if the result appears too bright, I may experiment with Overlay or Soft Light.
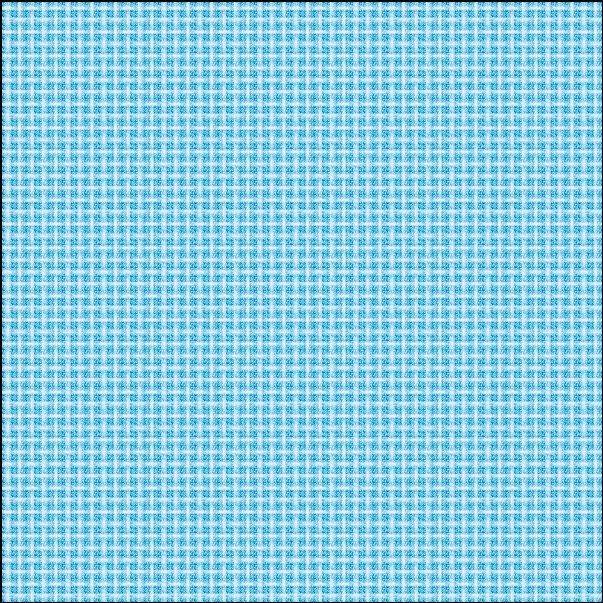
Similarly, you should definitely experiment with the scale setting for the patterns. Patterns that I would not even think of using look totally different and acceptable at a different scale setting. Let's look at some examples. (Be sure to click on the images for a larger view to be able to see the texture at 100%)
I definitely would not use the Nebula pattern (Patterns set) in its normal state because it is much too garish! However, if I change the blend mode to Luminosity, the resulting pattern looks acceptable. I can even choose to add another Pattern adjustment layer and choose a different pattern, blend mode and opacity. (To add another pattern, simply click or hold Alt and click on the beach ball icon again, and add another Pattern adjustment layer.) I will add Ant Farm at a scale of 50 with the blend mode set to Lighten at 75% opacity.
 Starting Layer
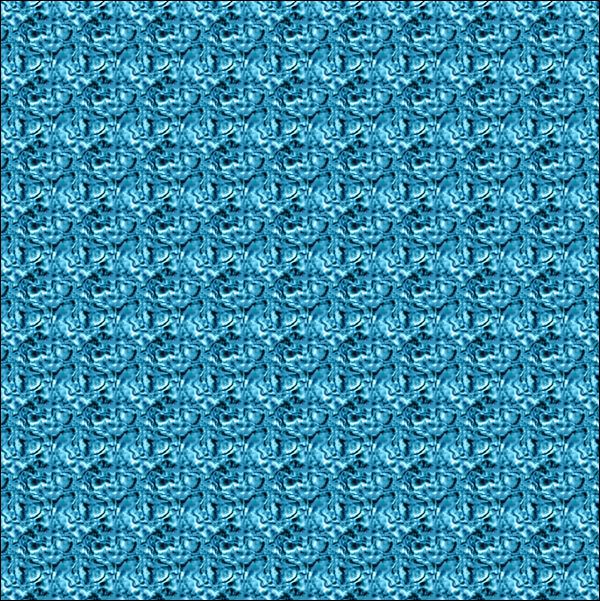 Nebula Pattern added with
blend mode set to Luminosity at 100%
 Second pattern added - Ant Farm
at a scale of 50 set to Lighten
at 75% opacity
Original Layer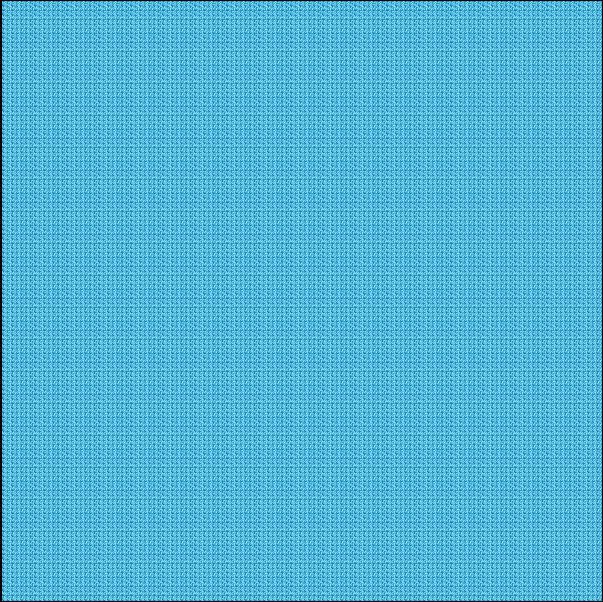 Clouds pattern at a scale of 1
set to Luminosity of 100%
 Second pattern added - Woven Flat
at a scale of 20 set to
Screen with an opacity of 100%
I hope I have given you some tips to encourage you to explore texture through patterns! I would love to see what you come up with . . . leave me a comment.


1 comments:
Tout à fait superbes, ces textures.
Very beautiful
Post a Comment