One of the things that has always caught my eye in all forms of art is texture. If a photo or painting or layout makes me FEEL a part of it, I consider it to be a very successful example of art!
Texture can be defined as "A distinctive, complex underlying pattern or structure." In traditional paper scrapbooking, you can't help but have texture in your layouts because you are working with tactile items - papers, ribbons, buttons, fabric. Of course in digital scrapbooking, we use those same items and through the clever use of bevels and shadowing, we can achieve that same texture and depth in our layouts.
One way to add texture using either Photoshop or Photoshop Elements is to do just that! You will need to use the Texturizer filter by choosing Filter, Texture, Texturizer from the menus. The Texturizer offers 4 default textures which are always on the drop down menu. In addition, whatever the last texture was that you used, that will be in place when you next use the Texturizer. You may also choose to load a texture by clicking the right-facing arrow and choosing Load Texture. This is where the REAL fun comes in! The texture that you add needs to be a file in .psd format but it can be of anything! You could save a photo as a .psd file (think pictures of bark, gravel, grass, seashells, etc.). You can also scan in items and use those (think fabric, wood, coffee beans, candies, etc.). Below, I will describe how I scanned in a paper towel to use with the Texturizer filter.
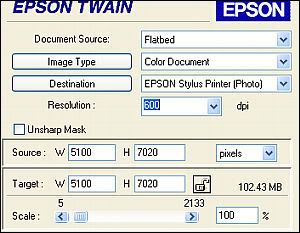
First, since most of you will not have a super-duper scanner capable of scanning in something that would cover a 12 x 12 inch area, you will need to use the settings I used to accommodate for this lack. Though each scanner is different, you will want to scan as large an item as possible. My paper towel basically covered the scanner because it was a really long paper towel! Because I wanted its end size to be 12 x 12 inches or 3600 x 3600 pixels, I needed to scan it larger than at 300 dpi because that would not have been big enough. I doubled the dpi to 600 and scanned.
Click image for larger view
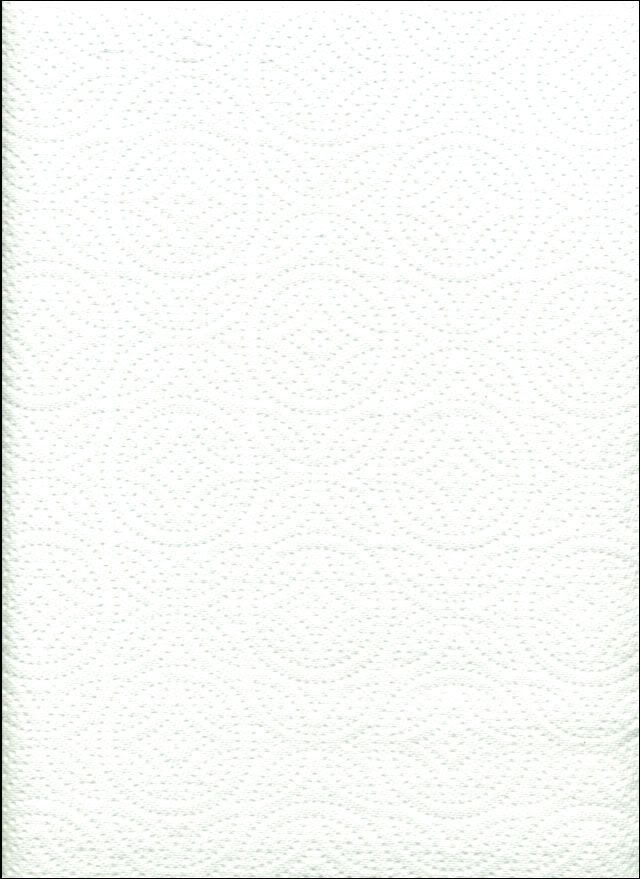
Once I had the document in Photoshop, I saw that it was much too bright, not allowing me to see the details of the paper towel. I added a levels adjustment to make the pattern stand out more on the paper towel. I was not worried by the outside shadowing of the edges because I knew I would be cropping those off.
Click image for larger view
Click image for larger view
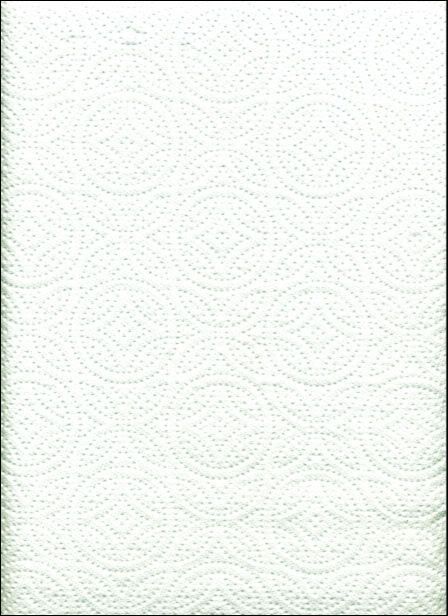
Next, I got rid of the color in the paper towel by using the shortcut Control+Shift+U which desaturated the image.
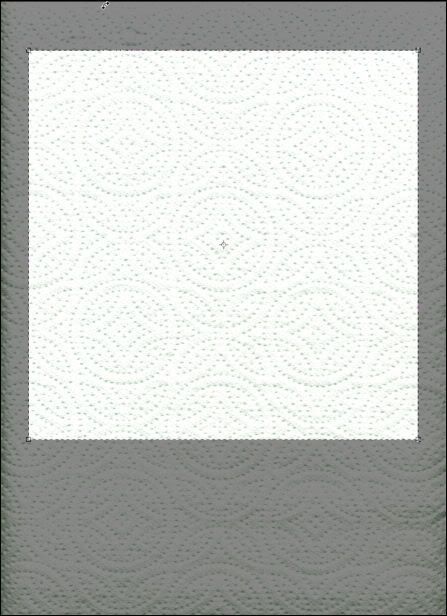
Next, I chose the Crop Tool and used the settings of 12 in for both Height and Width and set the resolution to 300. I pulled out the crop tool on the image and then moved the selection around to try and get the best selection of the pattern.
Click image for larger view
After cropping, I saved the document as paper_towel.psd in my folder for textures (this is a folder that I keep outside of Photoshop/Photoshop Elements).
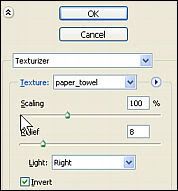
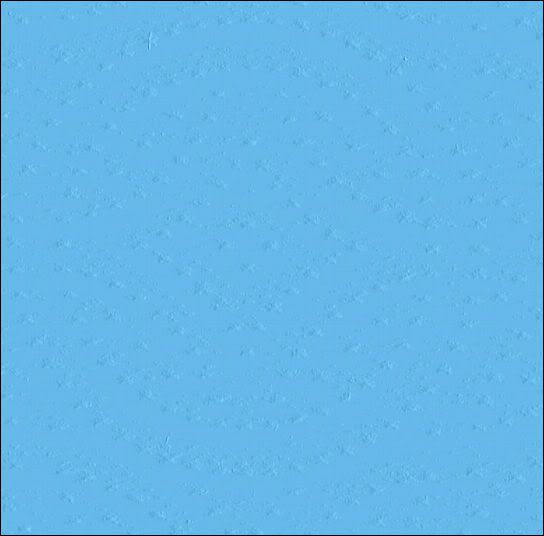
Now, let's apply it. I created a new document and filled the layer with blue. I then chose Filter, Texture, Texturizer. Click on the right-facing arrow and choose Load Texture. Navigate to where you saved the scanned item and choose it. Next, you will need to adjust the Scaling, Relief and Light settings to get the look you want for your paper.
Click images for larger view
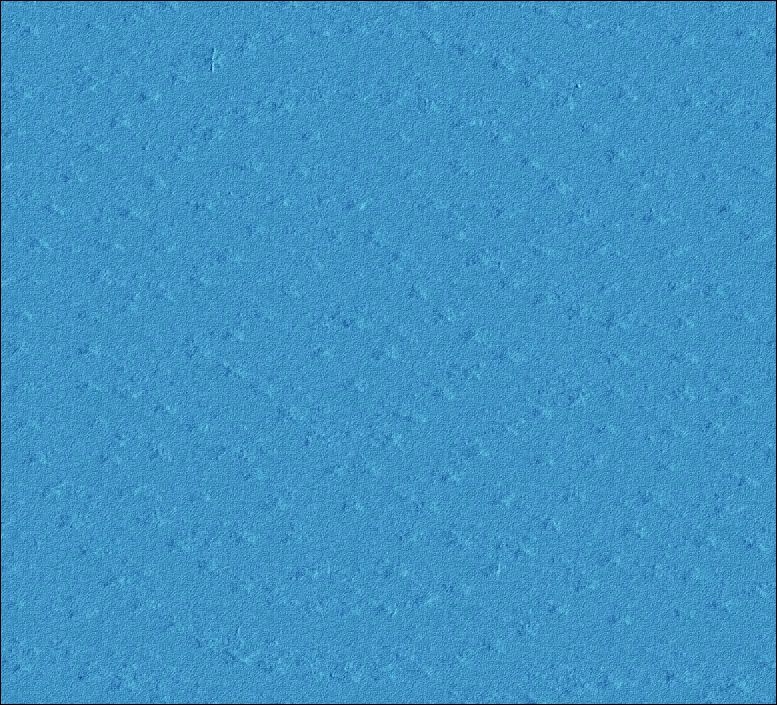
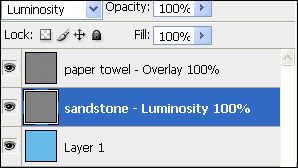
One other way to add texture using the Texturizer is to add a new layer and fill it with 50% gray by choosing Edit, Fill, 50% Gray. On the Layers Palette, change the layer blend mode from Normal to Overlay. Go ahead and apply your texture to this gray layer. Then, if the texture is too strong, you can adjust the opacity to suit. Also try different blend modes. Using this separate layer for the texture also works well if you want to mix more than one texture. On the image below, I applied my paper towel texture to one layer and set the layer blend mode to Overlay. On another layer, I applied the Sandstone texture and set its blend mode to Luminosity.
Click images for larger view
Hope you have fun experimenting with this texture technique! If you come up with some unique textures, please leave me a comment!