Showing posts with label layout. Show all posts

Sunday, March 15, 2009

In a Purple Mood

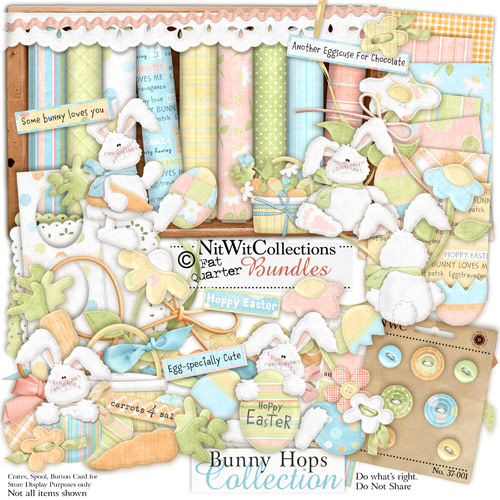
Do you like quilting or have you ever wanted to quilt? I haven’t quilted but I love the fabrics for quilting and I love exploring quilting magazines. Because of this love, I am drawn to kit designs by Mary Fran. You can find her designs at her store, Nitwit Collections. She has just put up some wonderful Easter products. (You can click on the images to be taken directly to her store.)
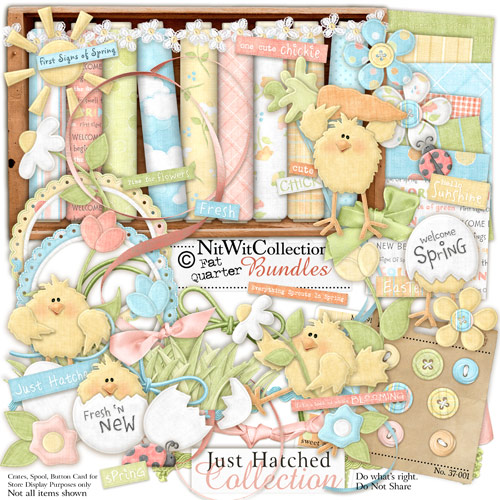
 

 Just Hatched Collection


Bunny Hops Collection


If you like these collections (or others from her store) it would be good for you to know the way she packages things at her store. Most of the time I end up buying a collection but also the extra papers she creates that coordinate with the kit . . . both patterned and solids. I find that I always like to get the solids because each kit seems to have a distinctive texture and the solids then match up with the other papers in a layout. She also creates extra elements for some collections and these are also well worth a look! I have bought only a few of her alphas, mainly because she only includes A to Z and sometimes numerals 0 to 9 but no punctuation at all which I find totally frustrating! She only has ONE sale per year, so it is a good time to stock up if you can wait for it! Another special thing I like about Mary Fran’s products is the unique way she displays her kits – doesn’t it just look like visiting the fabric department?!

While viewing her latest kits, I stumbled on one that I had missed:
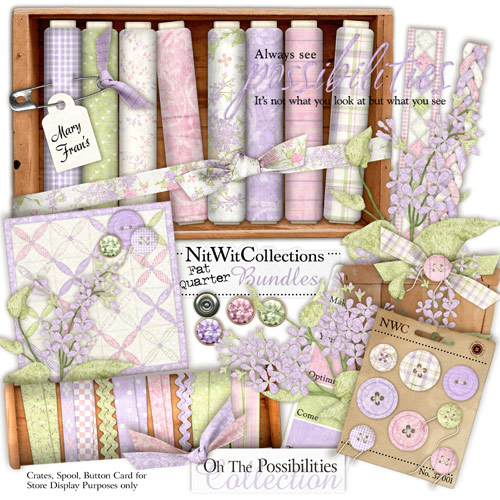
 

Oh The Possibilities Collection


I knew that this kit would be perfect for a remake of a paper layout I had created in the past. I had to scan the pictures because they were taken with my old SLR camera. I liked the way it turned out. What do you think? (Layout is clickable to view a detailed view with complete credits.)


Possiblities


Before I go, here’s a heads up on the latest FREEBIE by The Scrappin Cop. This girl creates high quality, commercial use products and then gives them away! Don’t let the commercial use label confuse you . . . you can certainly use them for personal use but if you ever decide to design your own products, these can be used. Just be sure to follow her terms. Anyway, she has some neat Grungy Edge Overlays that are fabulous for changing the look of papers you already own. Just place them in a layer above your paper and then play with blend modes or change their color.
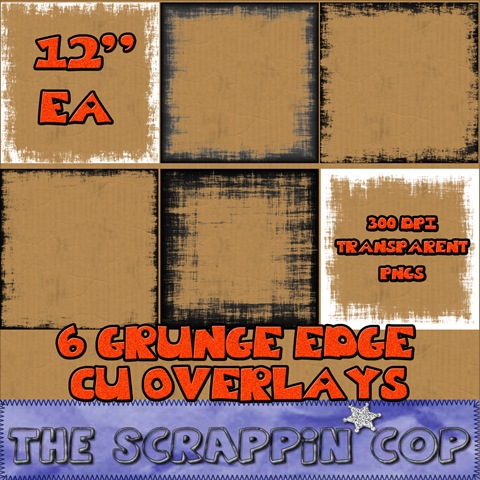
 

The Scrappin Cop


If you have never been to her blog before, be sure to check out her past downloads because they are still available. She has some really cute Easter layered templates as well.
Monday, July 21, 2008

Playing with Summer Delight

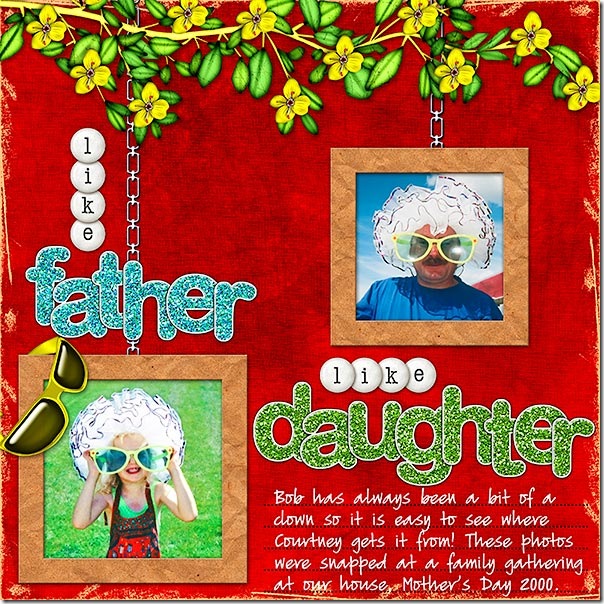
Today I enjoyed working with my new kit, Summer Delight, to create the following layout:

Like Father Like Daughter
Click layout for detailed view and full credits.

At first, I played with the placement of the photos and the sizing of them. At first I considered making one photo quite a bit larger than the other but the photo quality wasn’t that great so I decided against that idea. I did consider doing a blended layout but decided that I wanted to focus on the photos rather than blend either one into the background. Because there were only two photos, for a balanced layout I thought of making them both exactly the same size and positioned in the centre of the page to allow for the title above and below the photos. This didn’t look too bad but then I thought about the idea of hanging each photo on a chain and decided I liked that idea best!

Next, I added a 75 pixel inside stroke to each photo, knowing that when I separated the stroke from the photo layer (only available in Photoshop), the stroke would actually be larger and would result in a good size for a frame for my photo. To do this in Photoshop Elements, I would have selected the photo layer first by Control-clicking the photo’s thumbnail on the Layers Palette and then creating a new layer above the photo on which to place the stroke. I then chose one of the inked kraft papers from the kit and clipped it to the stroke layer. I resized the paper to about 50% and added a slight bevel and a drop shadow.

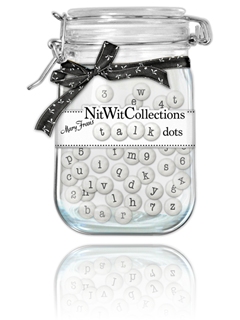
I placed the branch of yellow flowers at the top of the layout so I would have somewhere in which to hide the chains for the photos. On a separate layer, I used a chain brush to stroke the chain and then applied a metal style to make the chains look realistic. To allow enough room for the title words, I played with the sizing of the photos a bit. I then added the glitter sticker alphas, overlapping the title letters slightly to get them all into the space I had for them. I chose to use the alpha, Talk Dots by Mary Fran, to create the other word in the title and to give a bit more repetition for emphasis. If you have never checked out the Nitwit Collections store, you are in for a treat! I just love how all the products are displayed. This is the preview for the alpha I used. Isn't it the cutest?

Talk Dots

Of course, since the photos are all about big sunglasses, I had to include a pair from the kit! I decided that the best placement would be to hang them over the edge of the bottom photo. I chose to use a yellow pair to form a kind of visual triangle effect on the layout => sunglasses on the bottom => sunglasses on my husband’s photo => and yellow flowers at the top of the layout. You can read about the Visual Triangle on Scraps of Mind.

I used a journaling lines brush that I had created to stamp lines on my page and then journaled on another layer.

I thought I was about finished but the layout still seemed to need something. That's when I decided to used inked edges to mess things up a bit! I tried them in each of the kit colors but what looked best was the neutral tan of the kraft paper.

The last thing to try before finishing was to boost contrast. In Photoshop, I do this with Curves. Even if things seem to look ok, just trying a small shot of contrast can really make a powerful impact on a layout!

What do you think? For those of you who have already bought Summer Delight, I would love to see what you are creating with it!

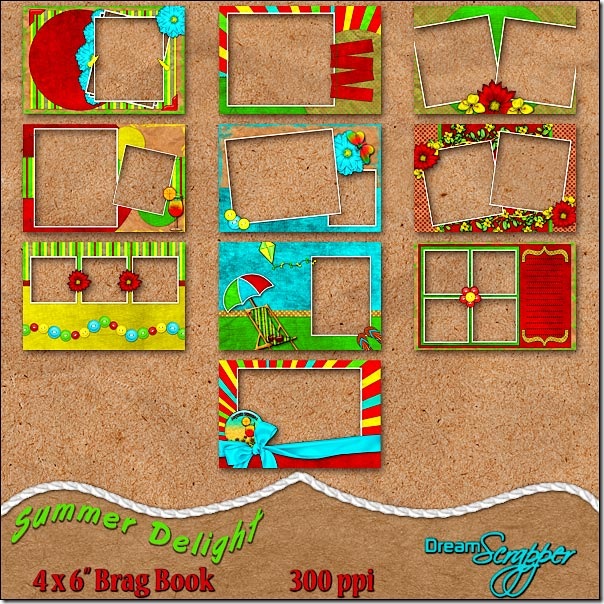
Now, to add to your pleasure . . . I have created both a Summer Delight Brag Book and some DreamScraps (otherwise known as Quick Pages)!

Summer Delight 4 x 6" Brag Book

The Summer Delight Brag Book, by DreamScrapper, has been designed using the funky and vibrant colors of sunshine yellow, cherry red, luscious lime and totally turquoise from the Summer Delight kit. The ten pages of this brag book will be perfect for displaying all your summer photos. Simply place your photos on a layer below the brag book page and print! All pages are created at 300ppi and saved as png files to preserve transparency. Drop shadows are applied only where layering of pieces makes shadowing necessary for realism. Special thanks to Atomic Cupcake. Thank you to Tandika Star and DigiScrapDesigner for items used in the creation of this product. For even more options for your summer photos, be sure to check out the full Summer Delight Page Kit.

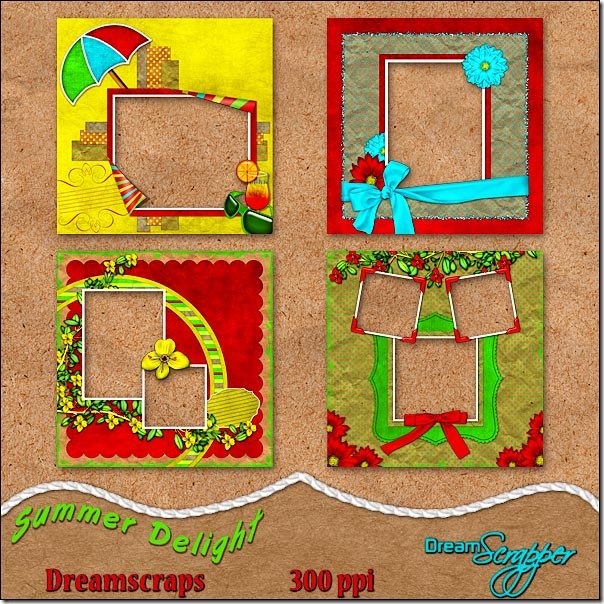
Summer Delight DreamScraps

Designed using the funky and vibrant colors of sunshine yellow, cherry red, luscious lime and totally turquoise from the Summer Delight Page Kit, by Dreamscrapper, these four quick pages will have you displaying your summer photos in no time! Simply place your photos on a layer beneath the quick page. Add titles and journaling, if desired, and print! All pages are created at 300ppi and saved as png files to preserve transparency. Drop shadows are applied only where layering of pieces makes shadowing necessary for realism. Special thanks to Atomic Cupcake. Thank you to Tandika Star and DigiScrapDesigner for items used in the creation of this product. For even more options for your summer photos, be sure to check out the full Summer Delight Page Kit.

Monday, June 30, 2008

Keeping Cool in the Summer

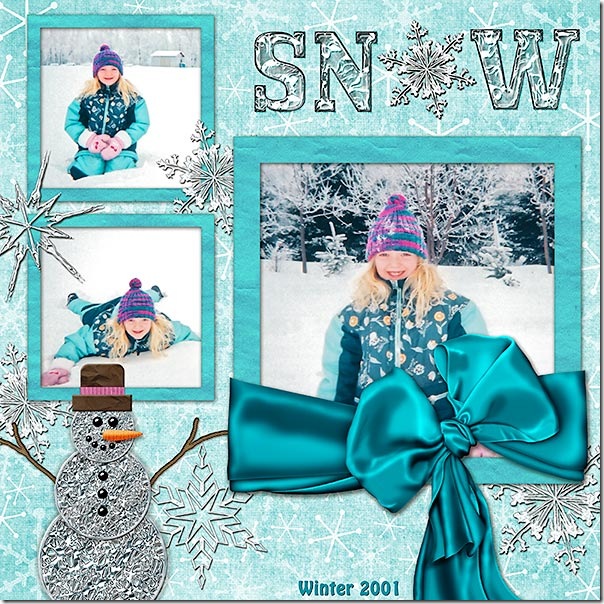
I am not and probably never will be a chronological scrapper. I enjoy picking and choosing, both from my kits and from my photos as to what to scrap and when to scrap it. If you view my scrap gallery, you can easily see the progression from somewhat recent to heritage to 10 years ago to recent and back again! My albums follow this same progression so while on one page you may view my daughter at 14, on the next, she may still be a toddler!

Is it any wonder then that today I was scrapbooking some pictures, which I recently scanned in from my old SLR camera, and though outside it was hovering around 29 degrees Celsius, inside I was thinking cool thoughts as I scrapped images from Winter 2001! It is amazing what the power of thought can do . . . think cool, be cool!

Anyway, this is the layout I came up with today:

Snow
Click layout for larger image and full credits.

How about everybody else . . . do you scrap chronologically or haphazardly like me? Leave me a comment below!

Friday, June 27, 2008

Troubleshooting Layer Blend Modes

Seldom do I create a layout where I don’t change at least one layer’s blend mode to something other than normal. In the two-page layout, Dog Days of Summer, I have used Hard Light to blend the photos of the dogs into the background paper. I have used the Color blend mode when using a Hue/Saturation adjustment layer to subtly re-color the cardboard overlays, cardboard flourishes, and alpha. When it came to creating the “summer” portion of the title, I also made use of a layer blend mode, Luminosity, to create the desired effect.

dog_days_2page_web
Click layout for larger version and full credits.

The original alpha is Scratched Up 2 by Micheline Martin.

Scratched Up 2 by Micheline Martin

I wanted to maintain my monochromatic color scheme (yes, this is monochromatic – GREEN – except for the addition of two neutral colors – brown and white!) in the layout so I had experimented with the layer blend modes to get this green version of the alpha. However, on closer look (and you should ALWAYS do this!) I found that the Luminosity mode that I was using caused problems with the alpha because the alpha was not lying wholly on the background; instead, the alpha overlapped a photo which had a white border. What to do? To solve this problem, I ended up copying and pasting pieces of the background to put beneath each alpha layer in the layout. This way, the alpha maintained the desired effect without the problem of the blend mode being effected by overlapping the alpha on the photo. The photos below illustrate the technique I used to troubleshoot my way around the problem created by using the Luminosity blend mode.

ddimage10


ddimage16
Screen cap shows problem with blend mode when alpha overlaps white border on photo.

ddimage2
Screen cap shows problem with blend mode where alpha overlaps a cardboard flourish.

Steps to solve the problem! To more easily illustrate this tutorial, I have adjusted the Palette Options on the Layers Palette by clicking the right facing arrow at the top of the Layers Palette and choosing Palette Options from the menu.

ddimage14

ddimage13

First, select the background paper layer.

ddimage5

Remain on the background layer but hold Control and click on the thumbnail of the S alpha layer to select the S.

ddimage6

ddimage17

Use the shortcut Control+J to duplicate the selection to a new layer above the background layer.

ddimage7

Drag the new layer up the Layers Palette until it is directly under the S alpha layer. Select both layers and link them so that they stay together.

ddimage11

Because the green background layer is now directly behind the letter, no other pieces of the layout show through the letter due to the choice of the Luminosity blend mode.

ddimage9

Repeat this procedure with all the other letters.

ddimage12

Now it looks much better!

ddimage15

I hope you have enjoyed this tutorial! This method will work for both Photoshop and Photoshop Elements though I am not certain if the shortcut Control+J still works in Photoshop Elements 6. If it doesn’t, you may use the shortcuts Control+C to copy the selection and Control+V to paste it onto a new layer.

Let me know how you have used this strategy or ask me a question about it by leaving me a comment below! Be sure to sign up for email notifications of blog posts by entering your email in the spot on the top right of my blog.

Tuesday, June 17, 2008

Halloween in June!

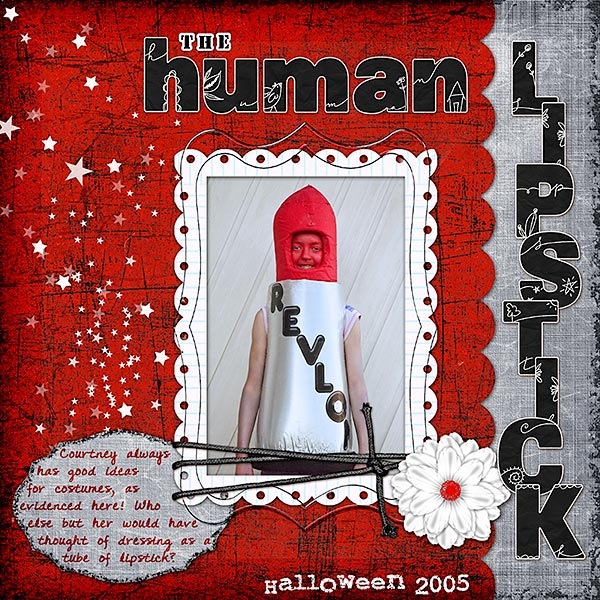
The other day, I rounded up a number of photo events that need scrapping. Among them were four years of Halloween photos! It sure is fun to look back at these photos to see the excited gleam in my daughter's eye as she gets ready to go out trick-or-treating! My daughter always had some of the neatest ideas for costumes and this one is definitely an original!

This is the layout I created for Halloween 2005:

The Human Lipstick
Click image for detailed view and full credits.

What events have you neglected to scrap? I challenge you to sort through some of your un-scrapped photos and pick an event to scrap. Leave me a comment to let me know what you chose and if you would like, send me a link so I can post your result here!

Saturday, June 14, 2008

A Little Bit of Hybrid, A Little Bit of Digital

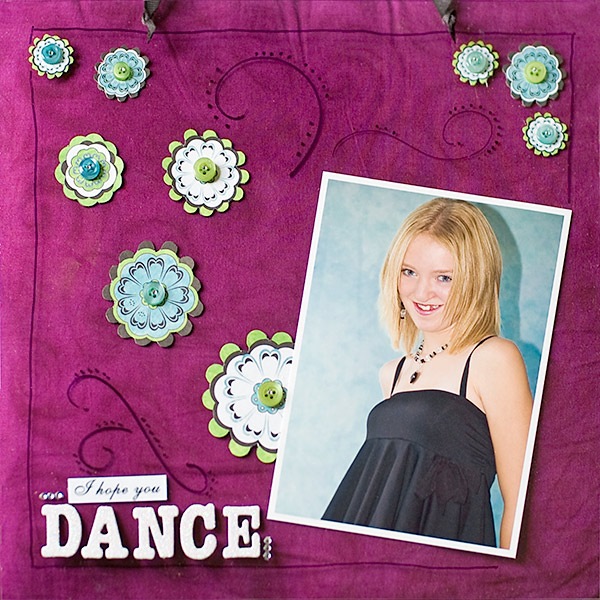
I promised to show you the acrylic scrapbook page I made while attending the crop in Steinbach. Last night, I was trying to get a picture of the thing hanging on the wall but all I got were reflections! This morning, I tried again, this time laying the page on a purple pillow near a window. I placed the layout on the pillow to supply some color for the background but the real color it should be on is teal because that's the color of our walls.

Acrylic Layout Wall Hanging

Of course, by taking the picture of this layout the way I did, you can't SEE that the thing is made of acrylic!

Anyway, the acrylic piece came cut in the 12 x 12 inch size and it had a peel off sheet of plastic on either side so that you could work on the layout without scratching or marking the other side. To help me with my design, I drew a little sketch. I knew that I wanted to position the photo where it was and I wanted also to have a border drawn around the layout to the bounds of the photo.

I glued on the photo, leaving a small opening where I wanted one of the flowers to tuck underneath. The border was drawn freehand. The flowers were hand cut from a flowered paper. Talk about FRUSTRATION! It is so much easier to "cut" shapes in digital scrapbooking!

Once all my flowers were cut, I laid them out on the page till I found a design I liked. They were then glued in place. Each flower was topped with a button and then a small "jewel." Next, I added the flourishes by using a swirl template. I placed the letters for DANCE and added the three little "jewels" beside the word. When I got back home, I used the computer to print out the words, "I hope you" and printed them. After cutting them to size, I glued them to the page as well.

The black bits you can see at the top of the page are where I punched two holes and fastened a ribbon so I could hang it on the wall.
In all, I am pleased with what I created though it would have been SO much easier to create this on the computer! For those of you thinking that my daughter is into dance, the quote actually comes from the song by Lee Ann Womack, and refers to the act of living life to the fullest.

I Hope You Dance

I hope you never lose your sense of wonder,
You get your fill to eat but always keep that hunger,
May you never take one single breath for granted,
God forbid love ever leave you empty handed,

I hope you still feel small when you stand beside the ocean,
Whenever one door closes I hope one more opens,
Promise me that you'll give faith a fighting chance,
And when you get the choice to sit it out or dance.

I hope you dance....I hope you dance.

I hope you never fear those mountains in the distance,
Never settle for the path of least resistance
Livin' might mean takin' chances but they're worth takin',
Lovin' might be a mistake but it's worth makin',

Don't let some hell bent heart leave you bitter,
When you come close to sellin' out reconsider,
Give the heavens above more than just a passing glance,
And when you get the choice to sit it out or dance.

I hope you dance....I hope you dance.

Time is a wheel in constant motion always rolling us along,
Tell me who wants to look back on their years and wonder
Where those years have gone.

I hope you still feel small when you stand beside the ocean,
Whenever one door closes I hope one more opens,
Promise me that you'll give faith a fighting chance,
And when you get the choice to sit it out or dance.

Dance....I hope you dance.

I hope you dance....I hope you dance.
I hope you dance....I hope you dance..

Time is a wheel in constant motion always rolling us along
Tell me who wants to look back on their years and wonder where those years have gone

For those of you looking to create transparent pages digitally, Karen Karooch of Scraps of Mind has a unique technique for you!

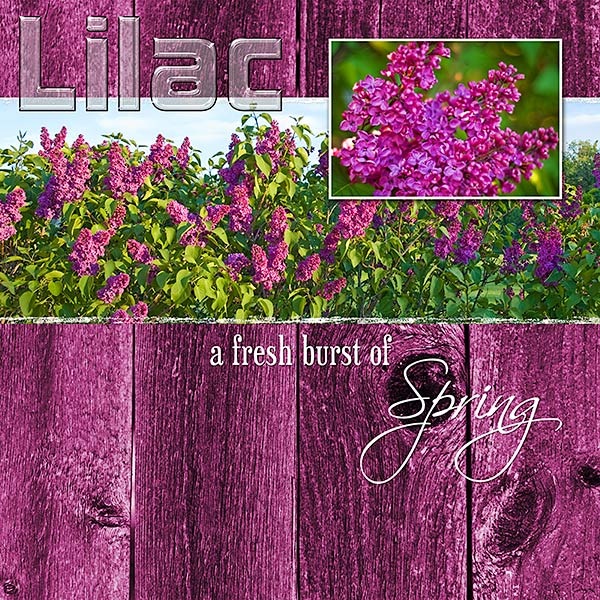
In the meantime, I have stuck to digital scrapbooking. Though the month is June, we haven't had a lot of great weather yet. Between the days of rain, I was able to snap some photos of our lovely lilac. To me, nothing says, "Spring" like a bunch of lilac!

Lilac
Click image for detailed view and full credits.

(And yes, our lilac REALLY is this dark purple color!)

Monday, June 9, 2008

The Best Use for my Kitchen Floor

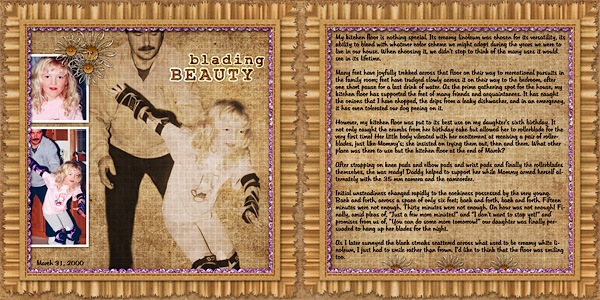
Well, I started a layout at the scrapbooking crop I went to in Steinbach, but it just wasn't working out so I let it be so I could rework it in my mind and come back to it. I finally finished it. The layout itself has LOTS of journaling, that demanded its own page due to the length of it. I had a lot of trouble deciding on a color for the background when I tried to do the blending in of the main photo. Finally, it all came together when I went neutral, making use of my Page Ruffles, Volumes 1 and 2 to frame the pages. Special thanks to my friend, Charlene from Birds Hill, who suggested which photo would be best for the blended background - that made all the difference!

Blading Beauty
Click image for enlarged view and complete credits.

Journaling reads:

My kitchen floor is nothing special. Its creamy linoleum was chosen for its versatility, its ability to blend with whatever color scheme we might adopt during the years we were to live in our house. When choosing it, we didn’t stop to think of the many uses it would see in its lifetime.


Many feet have joyfully trekked across that floor on their way to recreational pursuits in the family room; feet have trudged slowly across it on their way to the bedroom, after one short pause for a last drink of water. As the prime gathering spot for the house, my kitchen floor has supported the feet of many friends and acquaintances. It has caught the onions that I have chopped, the drips from a leaky dishwasher, and in an emergency, it has even tolerated our dog peeing on it.


However, my kitchen floor was put to its best use on my daughter’s sixth birthday. It not only caught the crumbs from her birthday cake but allowed her to rollerblade for the very first time! Her little body vibrated with her excitement at receiving a pair of rollerblades, just like Mommy’s; she insisted on trying them out, then and there. What other place at the end of March was there to use but the kitchen floor?


After strapping on knee pads and elbow pads and wrist pads and finally the rollerblades themselves, she was ready! Daddy helped to support her while Mommy armed herself alternately with the 35 mm camera and the camcorder.


Initial unsteadiness changed rapidly to the cockiness possessed by the very young. Back and forth, across a space of only six feet; back and forth, back and forth. Fifteen minutes were not enough. Thirty minutes were not enough. An hour was not enough! Finally, amid pleas of, “Just a few more minutes!” and “I don’t want to stop yet!” and promises from us of, “You can do some more tomorrow!” our daughter was finally persuaded to hang up her blades for the night.


As I later surveyed the black streaks scattered across what used to be creamy white linoleum, I just had to smile rather than frown. I’d like to think that the floor was smiling too.

Tuesday, June 3, 2008

18 Hours of Scrapping Bliss!

I had the pleasure of attending another scrapbooking crop this past weekend. It took place in Steinbach, Manitoba, and was hosted by Scrapbook Cottage owner, Sharon. The crop took place at the Legion and Sharon brought her entire store there for the two days! The crop took place on Friday 4:00 - 10:00 pm and again on Saturday, 9:00 am to 9:00 pm. Sharon has a lovely store in Steinbach and is very friendly, helpful and enthusiastic about scrapbooking and creative paper crafts! If you are in the area, be sure to visit her.

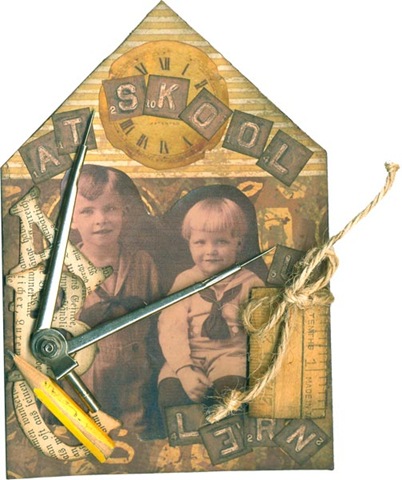
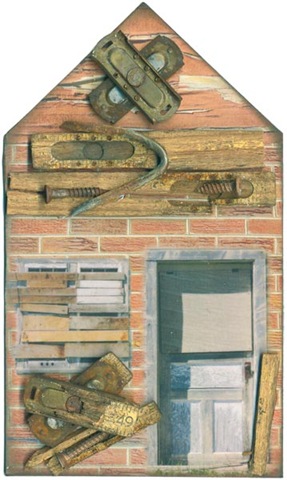
Of course, I was the only one using a computer there, but I did meet Kim Newberg Villeneuve who creates Altered Art such as Artist Trading Cards (ATCs) and Altered Books and other art work using found objects. Be sure to check out her blog as well as her Etsy store. I purchased two of her pieces:

school house

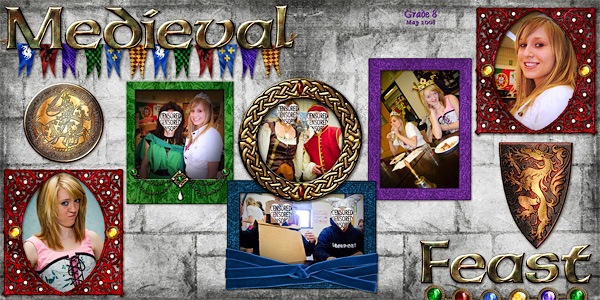
I didn't get as much scrapped as I hoped to but I did complete a two-page layout about the Medieval Feast at my daughter's school.

medieval_2page_censored_web

Click photo to view full credits and larger size.

I also participated in a class where we created a 12 x 12 acrylic page. I don't have a picture yet of what I made but I will post it when I do.

Monday, May 5, 2008

NSD Round-Up

Well, what a whirlwind weekend! The forum at DST was constantly changing with the many posts about freebies, sales, contests and chatter . . . it was hard to keep up with it all! DST had several layout contests and I found it very useful to bookmark the threads so that I could go back and note several unique and imaginative layouts for future scraplifting.

There was a lot of new product released, on sale, and lots of other great sales across the digi world. Here's a roundup of my purchases during the weekend.

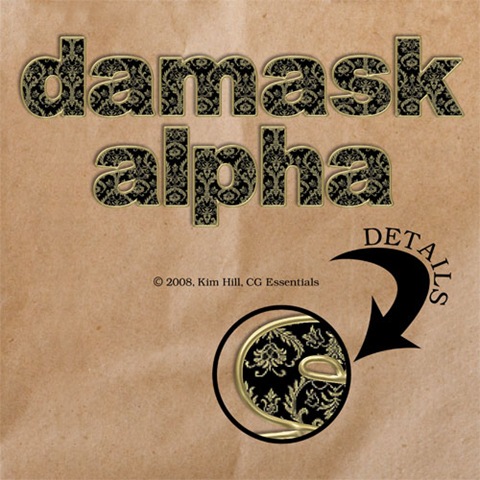
Won't this alpha be great for scrapping heritage layouts? You can find it at CG Essentials.

folder

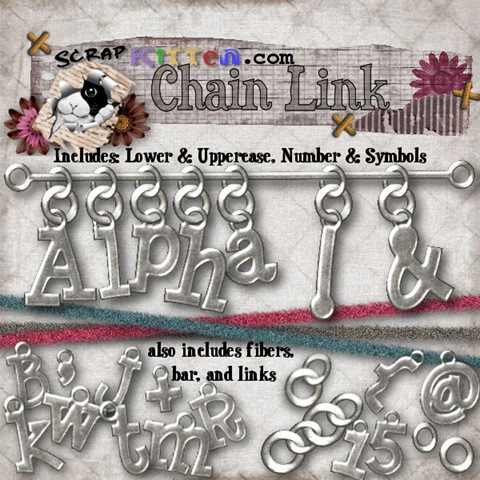
Another cute alpha I couldn't resist. This one is from Scrap Kitten.

SK_ChainlinkAlphaPreview

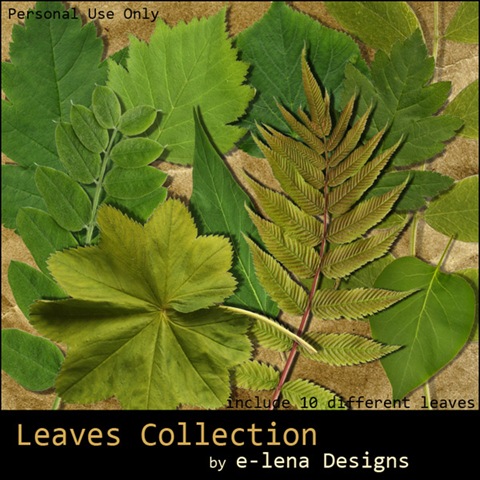
Next, I went organic and picked up this great collection of leaves from PickleBerryPop. I look forward to using these on a number of layouts, combined with the many flowers in my collection!

e-lena_Designs_Leaves_Collection_preview

These cute acrylic borders caught my eye as soon as I saw them advertised on DST. They were available at Elemental Scraps. Won't they be fun to use?

More borders attracted me, this time by Flergs and MGL Scraps. These coordinate with her new kit, What Dreams May Come, and are available at Scrapbook Graphics.

Flergs_wdmc_borders_600

Of course, I had to have the matching kit!

Flergs_mgl_wdmc_prev

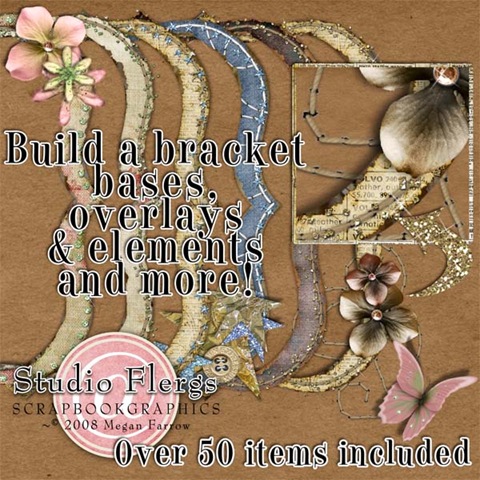
I also picked up Flergs' Build a Bracket. This will be a fun way to accessorize a number of different layouts!

Flergs_Brackets_600

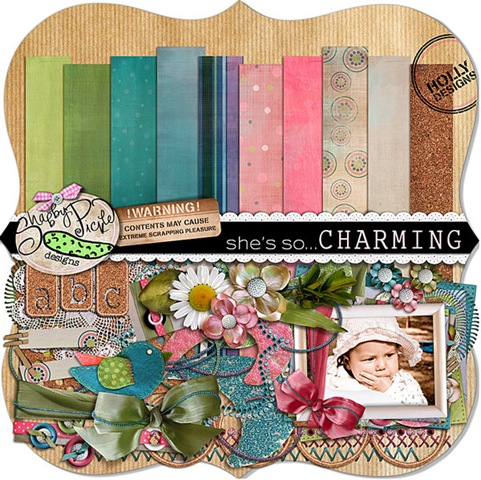
I also picked up She's So Charming by CT member turned designer, Holly. Great stuff! You can find Holly at Shabby Pickle. I just love the product previews at their store!

folder

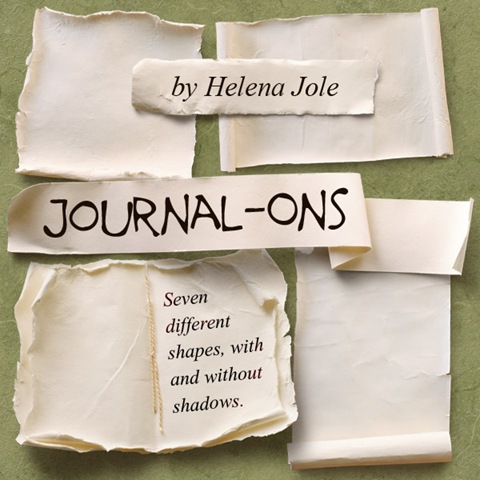
Last, but not least, I picked up Journal Ons by Helena Jole. Again, something very useful for a number of layouts.

HelenaJole_JournalOns

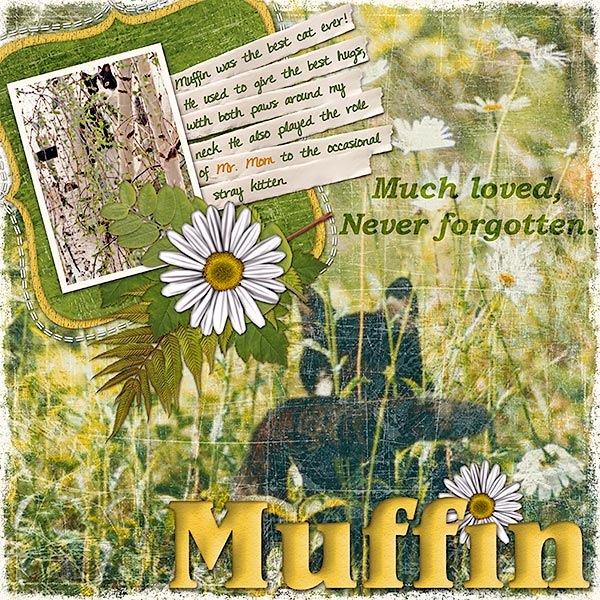
I used the Journal Ons in this layout about one of my old cats:

Muffin
Click photo for larger version and full credits.

Well, that takes care of the shopping!

~~~~~~~~~~~~~~~~~~~~~~~~~~~~~~~~~~~~~~~~~~~~~~~~~~~~~~~~

If you were hanging out on the DST forum, you may have seen my post about winning a favorite kit from my store. I gave away FIVE kits to these lucky recipients: Jaquescrapper, Buge, Veronova, Tadeasek, and mimi1166. Enjoy your kits!

~~~~~~~~~~~~~~~~~~~~~~~~~~~~~~~~~~~~~~~~~~~~~~~~~~~~~~~~

On a somewhat disappointing note, the Layout Competition I ran received only ONE entry! I know that people are buying my products . . . it would be nice to see your layouts. Though the competition is over, I would love to see what you are creating with DreamScrapper products. Feel free to contact me and send me a link to what you have created.

Congratulations to Mariska who has won the $15 coupon for DreamScrapper.com! Unfortunately, the $10 and $5 coupons will not be awarded since there were no other participants. Be sure to click on her layout for full credit details.

And that takes care of National Scrapbooking Day for another year! Time to rest up, back up my purchases, and plan some new layouts using the bargains I got! I'd love to hear about what products you found. Leave me a comment below.

Thursday, May 1, 2008

National Scrapbooking Day Savings For You!

NSD 2008

The weather outside may be lovely but don't forget to go online this weekend and take advantage of the great sales and activities planned for National Scrapbooking Day 2008!

At DreamScrapper.com, you will save 40% on all products! The 40% will be deducted from your total at checkout. This makes it the perfect time to stock up on all Dreamscrapper products that you have been adding to your Wish List!

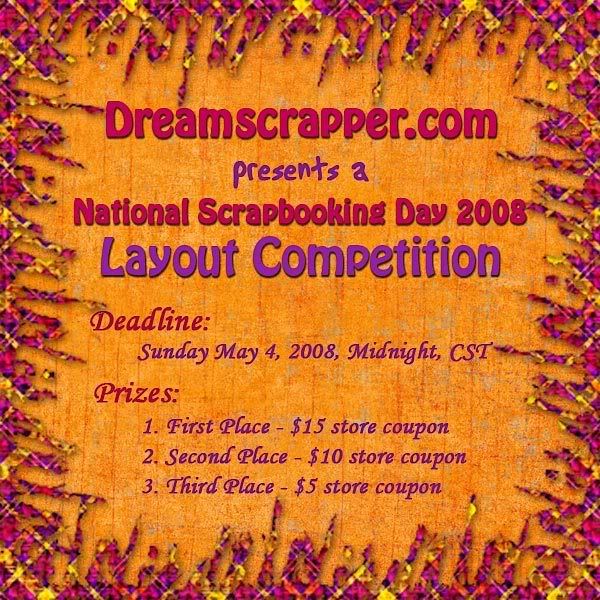
Also, remember to enter the Layout Competition for a chance to win one of three great prizes! Winners will be randomly selected so EVERYONE has the chance to win!

Have a great weekend and happy shopping!

Saturday, April 26, 2008

National Scrapbooking Day Layout Competition

National Scrapbooking Day is fast approaching! Be sure to mark your calendars for the weekend of May 3 so that you can get in on the many sales, contests, and other promotions. A good thread to bookmark is this one at Digishoptalk which details all of the sales: NSD Sales Master List.

What will be going on at DreamScrapper you ask? A sale will definitely be taking place so be sure your Paypal card is dusted off, fired up and ready to go! More details on the sale will be provided closer to National Scrapbooking Day!

Rules:

  1. Create a layout using primarily products found at DreamScrapper.com. You may enter more than once, but each layout must be created primarily using DreamScrapper products.
  2. Post the layout in the online gallery of your choice and email the link to me at dreamscrapper@gmail.com. In the email, include your name, email address at which you wish to be contacted, and the link to your layout.
  3. Entries must be received no later than Sunday, May 4, 2008 at midnight, CST, to be considered.
  4. As links are received, images will be posted here on my blog.
  5. The winners of the competition will be announced on my blog Monday, May 5, 2008 and the winner will be notified via email.
  6. Winners will be drawn randomly so EVERYONE has a chance of winning!

So, get scrapping . . . you can start entering NOW!

Monday, April 21, 2008

I'm On a Roll!

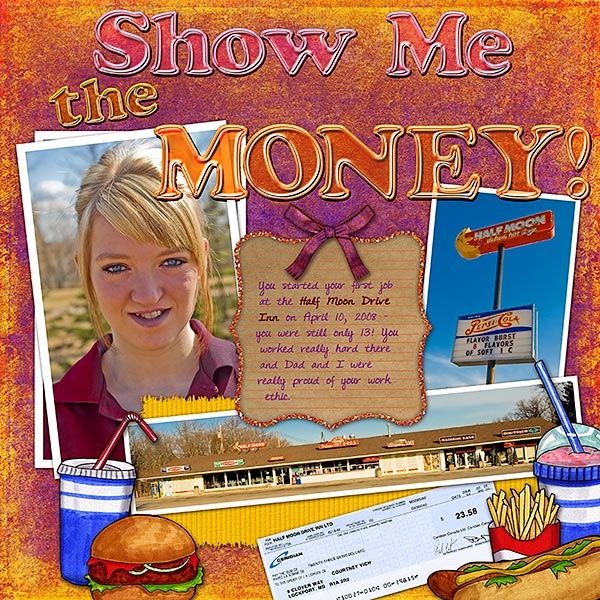
I guess that going to an all-day scrapping crop gets the creative juices flowing because I got another layout done today. This one celebrates my daughter's very first job - at 13! She has been working at the Half Moon Drive Inn since April 10, 2008. On Friday night, my husband and I went there for dinner. It was so crowded we almost couldn't stay because there was nowhere to park! Luckily, we managed to squeeze in. Inside, it was a zoo! While waiting to place our own orders, we watched our daughter filling orders behind the counter. She was moving VERY quickly to complete each order and then announcing the order number over the intercom. She was totally oblivious to us, being as it was so busy, and it gave us a good chance to see her in action without making her self conscious. We were very proud of her!

Anyway, this layout uses both pieces from my new kit, PRAIRIE SUNSET, and doodles from Kate Hadfield. I also wanted to use some acrylic letters (they are all the rage right now) by Emily Powers. Somehow, they didn't look quite right in their natural, clear state so I tinted them to match the layout. So, what do you think?

Show Me the Money!

Monday, March 10, 2008

An Organizing Tip and a Layout

Well, I learned something new today and I thought I would share it with you.

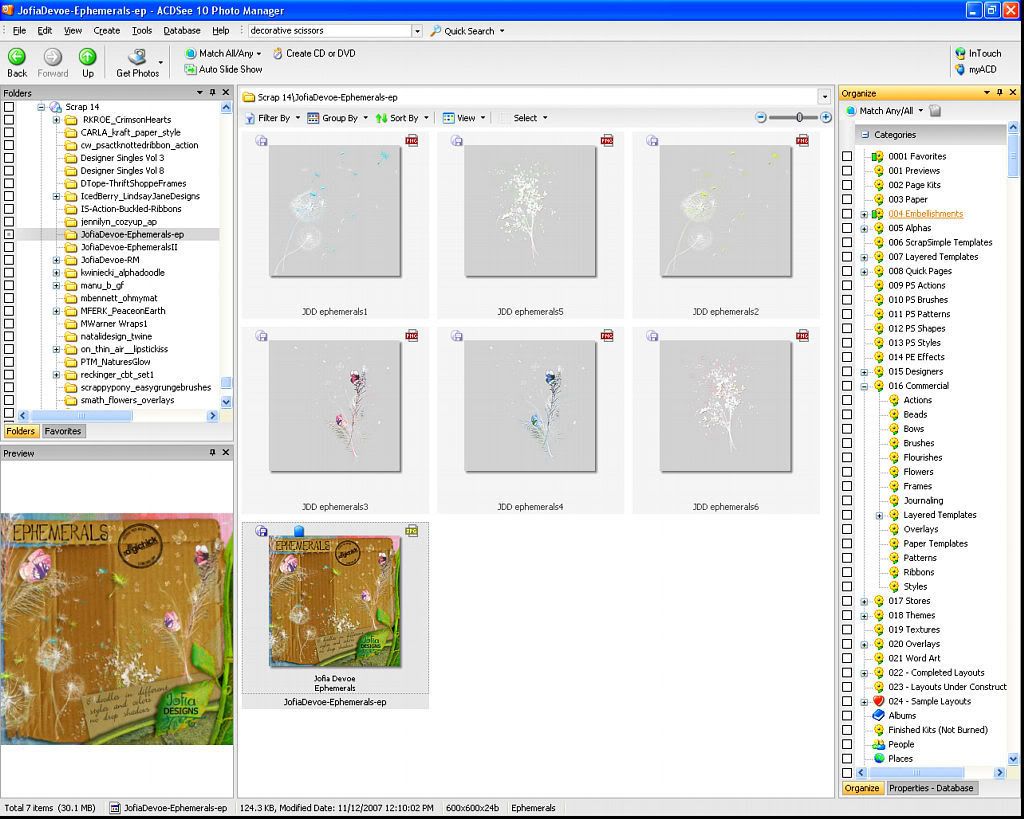
As you know, I have been using ACDSee for organizing my scrapping supplies and I love it! I had seen it mentioned a couple of times on forums that it was a lot quicker to drag the category to the thumbnails when tagging but when I tried it, nothing happened. Today, I saw this technique mentioned once again and still it wouldn't work for me!

In tagging, I had always used the Properties View, so that I could add the kit/item name in the Caption field and then the designer's name in the Author field and finally check off all applicable categories to tag my stash. Sometimes it seemed to take a VERY LONG TIME before a checkmark would appear beside a category.

Click image for enlarged view

This time, I decided to try something . . . I switched to the Organize View and tried dragging the category to the thumbnail. This was the ticket! And SO FAST!

Click image for enlarged view

Needless to say, in the future when I do any organizing in ACDSee, I will use the Properties View to enter the kit/item name and the designer name and then switch to the Organize View where I will be using this VERY FAST METHOD to drag the category to the thumbnail(s)! Try it yourself and see if you can speed up your own organizing!

I also found some time to scrap a heritage layout, using items from a variety of fellow designers from whom I have recently made purchases. The picture is of my mother when she was a young girl. For full credits, click on the image.

Yesteryear

Sunday, October 7, 2007

Reader Input Needed

I have come to the conclusion that you never stop working when you become a designer! If I am not working on the computer physically designing a new kit, I am designing in my head or brainstorming kit themes and colors! Even when I lay down to sleep, ideas keep rolling around in my head!

What would really help me out would be to know what you, my readers, would like in a kit. What kinds of elements do you want to use? What types of papers would you like to use? What color schemes do you need for the photos that you wish to scrap? Are you looking for quick pages where you just need to add your photos, a title, and journaling? Leave me a comment below so I can accommodate your needs!

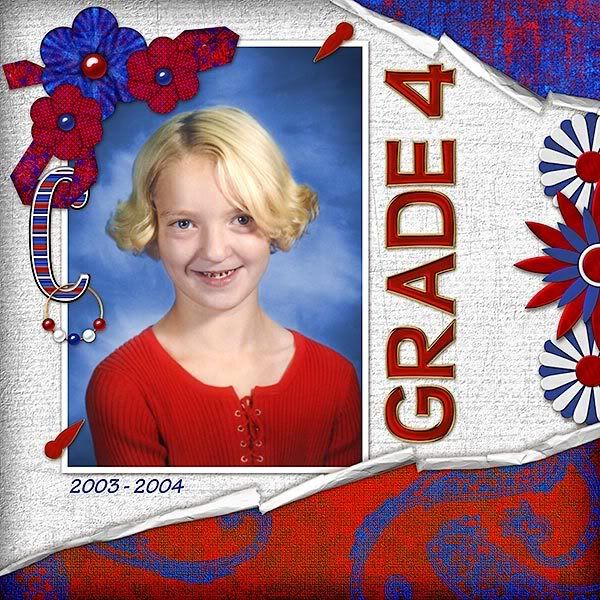
Today I will leave you with a layout created using my newest page kit, Maximum Impact, available at DreamScrapper.com.

Grade 4