Monday, August 27, 2007

Texture Challenge

Today I have a few more suggestions for how you can add texture to your layouts.

When you think of texture, I suggest that you start with a plain, color-filled layer. I find that when I start with a plain, flat layer, I can brainstorm different ways to "mess it up" using different techniques.

One of my favorite ways to add some texture is to add torn edges. These can be used on a photo matte or on other papers that form the background of your layout. For Photoshop users I definitely recommend the actions from Atomic Cupcake. Though you cannot buy individual actions at her site, a month's subscription will give you access to a multitude of action downloads that are well worth it! For the tearing actions, you will want to look for Torn Vellum, Torn and Inked, Medium Tear, Simple Tear, Wild Tear and Small Torn Edges. She also has a new one out called Folded Tear. Photoshop Elements users . . . though she does offer some actions that will work in your program, the tear ones are not available.

If you can't use actions, you may want to use paper templates to achieve the effect. Scrap Girls has one that you may want to try. They also have a very good tutorial for using the templates. There are also a number or tutorials on the web for creating torn edges (and here) and torn paper.

Click image for larger view and full credits

Also popular now are curled edges and folded corners. Templates are a great help in creating these quickly.


Click image for larger view and full credits

Texture can also be added by stamping (using brushes), chalking, painting, sanding and inking. I recommend the Digital Distressing Kit by Nancy Rowe Janitz which gives you not only brushes but .png files to create your own brushes for sanding, chalking, distressing, stamping, painting and inking. The kit also includes overlays in each of the styles. As well, you get a nice tutorial in .pdf format explaining how to use each of the tools.


Click image for larger view and full credits

Stitching is also a favorite technique to add some texture to layouts. You can purchase both stitching brushes and stitching as .png files. For some very realistic stitching, I recommend either Gina Miller or Ztampf! Stitching is very versatile and can be used as a border, to anchor items, as embroidery and as actual frames.

Click image for larger view and full credits

I hope you are still with me after all those possibilities for using texture!

I would now like to issue a challenge to all of you. Send me a link to what you consider your BEST layout that uses texture in one of the ways discussed either here or in my earlier articles Adding Texture to Your Layouts or Using Patterns to Add Texture. I will choose my three favorite layouts and those layout creators will win this quick page:

Click image for larger view

Deadline for entries is September 3 and I will announce the winners the next day. You can either email me or add a comment under the layout with your link. Put TEXTURE CHALLENGE as the subject for the email. Please, if you leave a comment, please supply me with an email in case I need to contact you about your layout. Remember, only ONE entry per person.

Good luck with your layouts! I can't wait to see what you come up with!

Sunday, August 26, 2007

Using Patterns to Add Texture

In my previous article Adding Texture to Your Layouts, I demonstrated how to use the Texturizer filter in Photoshop (PS) and Photoshop Elements (PE). This technique actually added a texture by embossing it onto your layout.

Another way to add texture is to simply add some kind of pattern. Both PS and PE have several sets of patterns from which to choose. A pattern may be applied directly to a layer or selection by using the Paint Bucket tool set to Pattern. Using this method, the only options available are opacity and mode. There is no control over the scale of the pattern using this method. Also, the pattern cannot be edited after applying it.

My preferred method for both PS and PE is to add a Pattern adjustment layer. You do this by clicking on the little black/white beach ball icon on the Layers Palette and choosing Pattern. If you are wanting to apply a pattern just to one specific layer, you should be sure to hold down Alt before trying to add the adjustment layer. When you use this method, you must click and hold on the beach ball icon. You will get a pop up dialog and you must be sure to check off the check box that is available. In PS CS3, mine says "Use Previous Layer to create Clipping Mask" but in other versions of PS and in PE, I believe that it says something about grouping with previous layer. Then click OK to apply the adjustment layer and choose the pattern that you want. (You must do this so that the pattern only affects the layer directly below it. If you don't group, the pattern will be applied to every layer below it.)

Using the adjustment layer method, you will have the ability to adjust the scale of the pattern. Also, because you are using an adjustment layer, at any time you may double-click on the thumbnail of that layer to edit the scale and/or pattern.

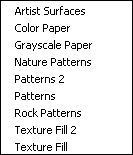
There are several pattern sets available to you:


To get to these different sets, once you have the Patterns before you, you click on the right-facing arrow and choose from the list. You may also choose to load or replace the pattern sets with ones you have downloaded or created.

After choosing a pattern, return to the Layers Palette and try different layer blend modes. I generally make use of Multiply, Color Burn, Linear Burn, Overlay, Soft Light, Hard Light, Vivid Light and Luminosity. You may also adjust the opacity of these, though this will limit not only the color produced with your layer or selection but also the pattern itself.

Don't discount some of the more garish patterns, especially the colored ones. Even if the color is not what you want, there is a simple trick to use that pattern the way you want! The trick is simply to use a different blend mode for the adjustment layer! Quite often, I will use luminosity for a colored pattern but if the result appears too bright, I may experiment with Overlay or Soft Light.

Similarly, you should definitely experiment with the scale setting for the patterns. Patterns that I would not even think of using look totally different and acceptable at a different scale setting. Let's look at some examples. (Be sure to click on the images for a larger view to be able to see the texture at 100%)

I definitely would not use the Nebula pattern (Patterns set) in its normal state because it is much too garish! However, if I change the blend mode to Luminosity, the resulting pattern looks acceptable. I can even choose to add another Pattern adjustment layer and choose a different pattern, blend mode and opacity. (To add another pattern, simply click or hold Alt and click on the beach ball icon again, and add another Pattern adjustment layer.) I will add Ant Farm at a scale of 50 with the blend mode set to Lighten at 75% opacity.


Starting Layer

Nebula Pattern added with
blend mode set to Luminosity at 100%


Second pattern added - Ant Farm
at a scale of 50 set to Lighten
at 75% opacity


Another example is where I use the Clouds pattern at a scale of 1 set to Luminosity of 100%. This looks nice! When I add a second pattern - Woven Flat at a scale of 20 set to Screen with an opacity of 100% I get a very attractive looking woven pattern.

Original Layer

Clouds pattern at a scale of 1
set to Luminosity of 100%


Second pattern added - Woven Flat
at a scale of 20 set to
Screen with an opacity of 100%

I hope I have given you some tips to encourage you to explore texture through patterns! I would love to see what you come up with . . . leave me a comment.

Friday, August 24, 2007

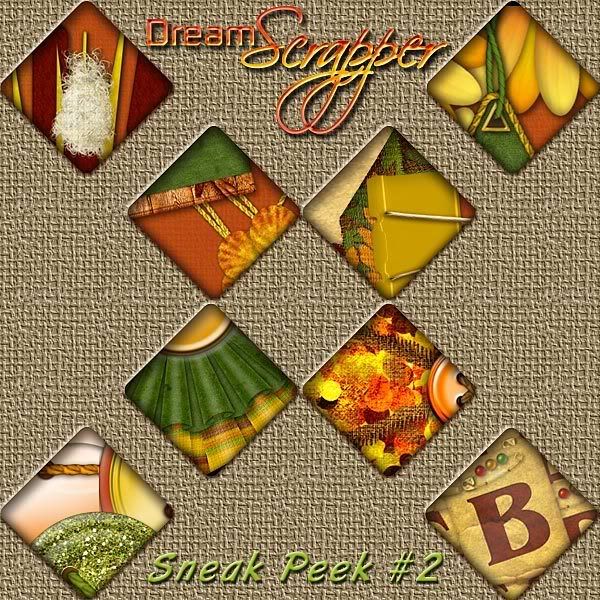
Sneak Peek #2

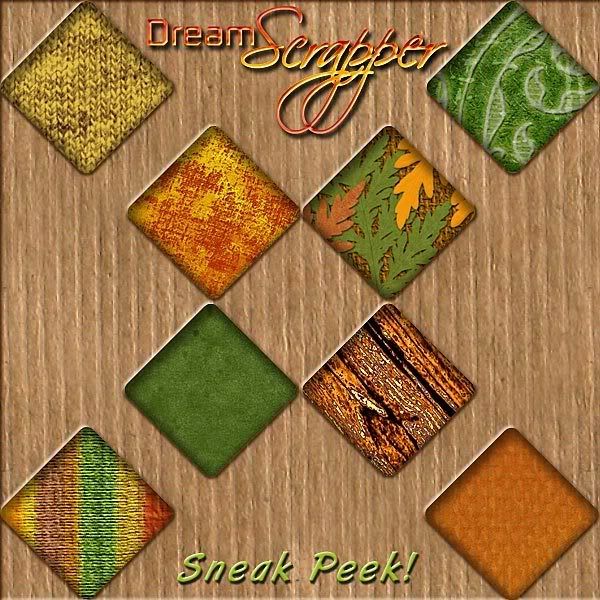
Today I offer you your second peek at this wonderful and rich kit that will be featured for the store opening of DreamScrapper.com next week! This kit will NOT be sold! Stay tuned here for the details on how you can get this kit, perfect for all your fall layouts! You won't want to miss out on this one!

Click image for larger view

Wednesday, August 22, 2007

Adding Texture to Your Layouts

One of the things that has always caught my eye in all forms of art is texture. If a photo or painting or layout makes me FEEL a part of it, I consider it to be a very successful example of art!

Texture can be defined as "A distinctive, complex underlying pattern or structure." In traditional paper scrapbooking, you can't help but have texture in your layouts because you are working with tactile items - papers, ribbons, buttons, fabric. Of course in digital scrapbooking, we use those same items and through the clever use of bevels and shadowing, we can achieve that same texture and depth in our layouts.

One way to add texture using either Photoshop or Photoshop Elements is to do just that! You will need to use the Texturizer filter by choosing Filter, Texture, Texturizer from the menus. The Texturizer offers 4 default textures which are always on the drop down menu. In addition, whatever the last texture was that you used, that will be in place when you next use the Texturizer. You may also choose to load a texture by clicking the right-facing arrow and choosing Load Texture. This is where the REAL fun comes in! The texture that you add needs to be a file in .psd format but it can be of anything! You could save a photo as a .psd file (think pictures of bark, gravel, grass, seashells, etc.). You can also scan in items and use those (think fabric, wood, coffee beans, candies, etc.). Below, I will describe how I scanned in a paper towel to use with the Texturizer filter.

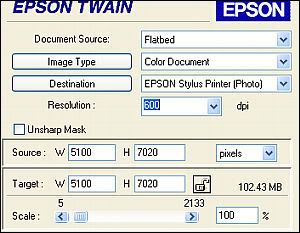
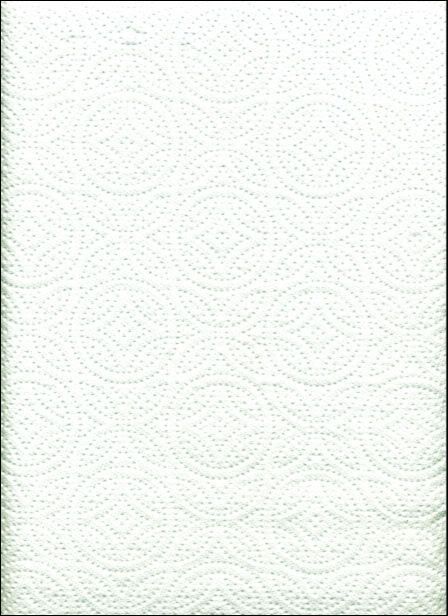
First, since most of you will not have a super-duper scanner capable of scanning in something that would cover a 12 x 12 inch area, you will need to use the settings I used to accommodate for this lack. Though each scanner is different, you will want to scan as large an item as possible. My paper towel basically covered the scanner because it was a really long paper towel! Because I wanted its end size to be 12 x 12 inches or 3600 x 3600 pixels, I needed to scan it larger than at 300 dpi because that would not have been big enough. I doubled the dpi to 600 and scanned.


Click image for larger view

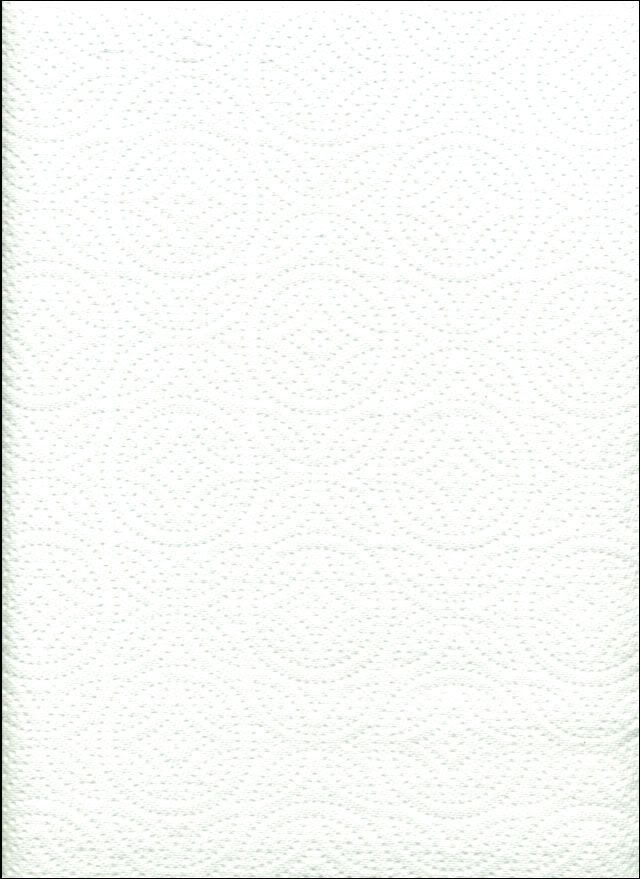
Once I had the document in Photoshop, I saw that it was much too bright, not allowing me to see the details of the paper towel. I added a levels adjustment to make the pattern stand out more on the paper towel. I was not worried by the outside shadowing of the edges because I knew I would be cropping those off.

Click image for larger view

Click image for larger view

Next, I got rid of the color in the paper towel by using the shortcut Control+Shift+U which desaturated the image.

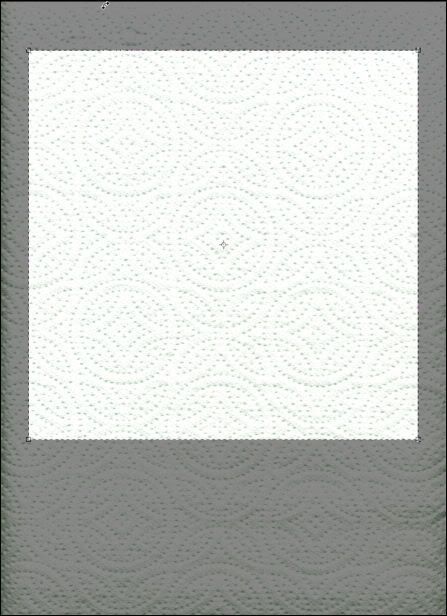
Next, I chose the Crop Tool and used the settings of 12 in for both Height and Width and set the resolution to 300. I pulled out the crop tool on the image and then moved the selection around to try and get the best selection of the pattern.


Click image for larger view

After cropping, I saved the document as paper_towel.psd in my folder for textures (this is a folder that I keep outside of Photoshop/Photoshop Elements).

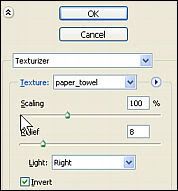
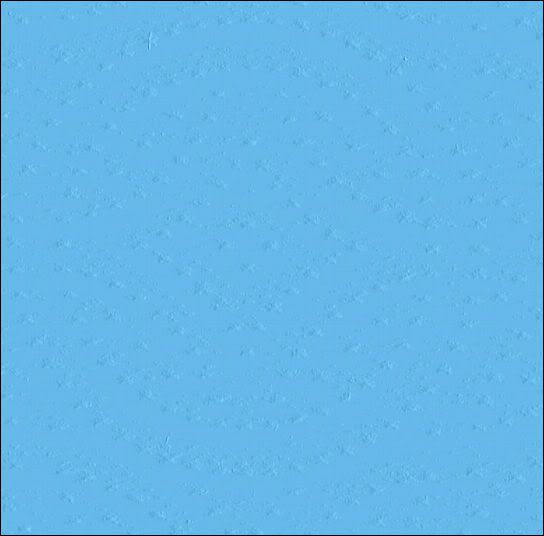
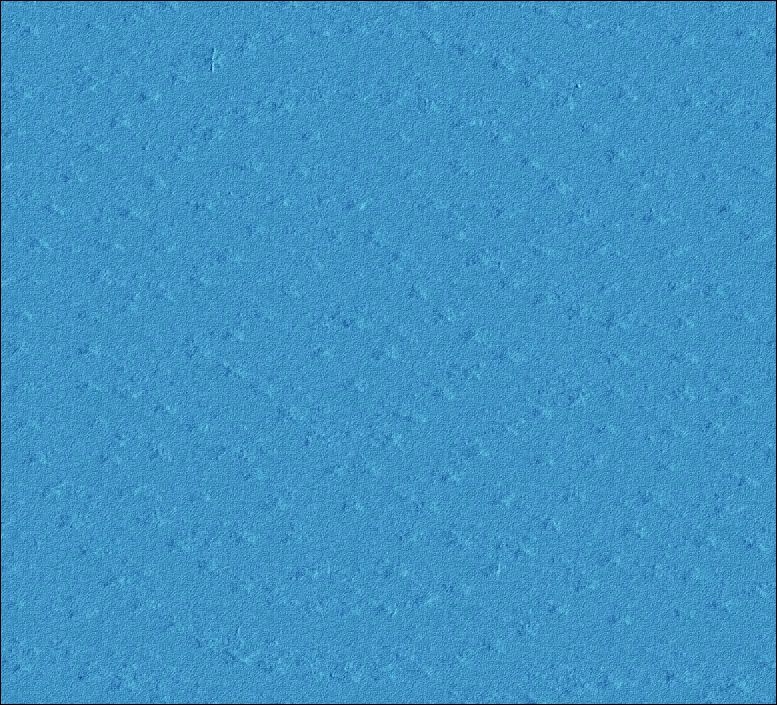
Now, let's apply it. I created a new document and filled the layer with blue. I then chose Filter, Texture, Texturizer. Click on the right-facing arrow and choose Load Texture. Navigate to where you saved the scanned item and choose it. Next, you will need to adjust the Scaling, Relief and Light settings to get the look you want for your paper.


Click images for larger view

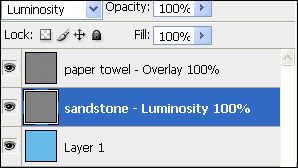
One other way to add texture using the Texturizer is to add a new layer and fill it with 50% gray by choosing Edit, Fill, 50% Gray. On the Layers Palette, change the layer blend mode from Normal to Overlay. Go ahead and apply your texture to this gray layer. Then, if the texture is too strong, you can adjust the opacity to suit. Also try different blend modes. Using this separate layer for the texture also works well if you want to mix more than one texture. On the image below, I applied my paper towel texture to one layer and set the layer blend mode to Overlay. On another layer, I applied the Sandstone texture and set its blend mode to Luminosity.

Click images for larger view

Hope you have fun experimenting with this texture technique! If you come up with some unique textures, please leave me a comment!

Sunday, August 19, 2007

Freebie: Young Girl's Blush

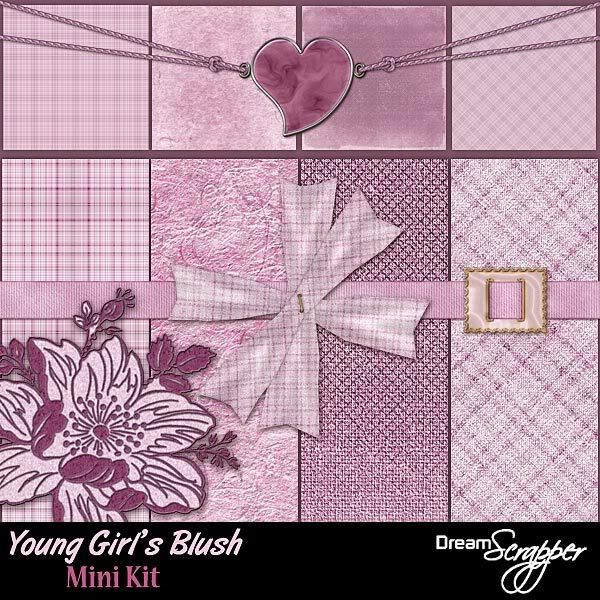
Since I can't open the doors to my store yet so you can get a taste of my other products, today I am offering you a mini kit freebie, Young Girl's Blush. This mini kit includes 4 delightfully textured papers, a flower applique, a heart pendant, a flower, and a ribbon with removable buckle. I'm sure you will enjoy using this kit for layouts featuring your favorite young girl! Thank you to Tandika Star and DigiScrapDesigner for items used in the creation of this product.

This file is no longer available for download.
Thank you for your interest!

I hope you enjoy this one! As always, I appreciate your comments if you download.

Friday, August 17, 2007

DreamScrapper.com Store Opening - Delayed

Much to my disappointment, my store did not open this week as planned. Unfortunately, this is a problem beyond my control. Everything on my end has been done . . . there is a glitch with the host that needs to be fixed before I can open the doors to my new store! I am hopeful that next week, I will be able to announce its opening for real!

Resolution: 200 ppi vs 300 ppi

Every once in awhile, a debate over which print resolution is best will surface on a digital scrapbooking forum. Generally, the discussions seem to get quite heated as each side defends its choice of either 200 ppi or 300 ppi.

At this time in the industry, 300 ppi is generally accepted as the standard. If you shop at a number of sites, you will soon see that the majority offer products created at that standard.

Does this mean that products created at 200 ppi are inferior? Far from it!

There is one very popular store, Digital Scrapbook Place, that creates only at 200 ppi and attempts to educate their buying public to their belief that 200 ppi is the new industry standard. They claim that because digital scrapbook layouts are not being printed on commercial presses but on ink jet printers, resolution does not need to be 300 ppi. In addition, scrapping at this lower ppi also means shorter downloads for the consumer and less strain on computer systems while scrapping. The products at this store are very high quality by such designers as Lauren Bavin, Kim Liddiard, Marcee Duggar, Lisa Carter, Meryl Bartho and many others. If you haven't at least checked them out, you owe it to yourself to at least have a look.

Karen, over at Scraps of Mind, has a wonderful article on this resolution debate. She has also conducted tests herself and finds that in some cases, 200 ppi seems superior. She also references an interesting article by Digital Scrapbook Designer Professionals. Read these references and give yourself a bit more information to make an informed decision.

How does this 200 ppi/300 ppi debate affect me? First, from experience with printing on an ink jet printer, I have successfully printed photos on photo paper at 150 ppi and won awards while competing against other photographers who have had photos professionally printed! I have not printed my own layouts at 150 or even 200 ppi. As a consumer, I now buy only 300 ppi kits. This makes it much easier for me to mix and match items, something I do frequently when I scrap. I seldom will rely on just one kit for a layout . . . I usually pull from 3 to 5 and create some of my own stuff as well! Having to resize items so that they fit my layout gets old quick because though I may have some idea of my starting pieces, I frequently change my mind as I go and if I happened to pull 200 ppi pieces into my layout inadvertently, it would be a real irritant. Though I have bought 200 ppi kits in the past from Digital Scrapbook Place, I no longer shop there for this reason. As a designer, I would not want to limit my target market by designing solely for those who want 200 ppi. That just doesn't make sense to me!

However, digital scrapbooking is about choices . . . you make decisions about paper, elements, fonts . . . become informed about resolution and then make your own decision which one to use.

Wednesday, August 15, 2007

Organizing With ACDSee

When you begin digital scrapbooking, of course the most important tools you will need are a computer and a graphics program of some type with which to create your layouts. The second most important tool for me is an organizational tool.

It is not long after getting into scrapping that you wonder how you will ever manage to FIND that great kit or two that you downloaded or purchased! If you do a search for "organizing" on any of the digital scrapbooking forums such as Digishoptalk, you will find several recommended methods for organizing your digital supplies.

Some people prefer the Gina Miller method. Gina renames her folders when she purchases using this format: DesignerNameKITNAME. She then burns all her stuff to DVDs to get them off the drive. Anything she thinks she will use a lot of (like elements) she retains on her hard drive but copies them into the appropriate ELEMENTS or other sub-folder and then are renamed in this format: DesignerNameELEMENT.TYPE eg. CorinaNielsenPINK.BUTTON.

Some people actually break up their kits and store the items in folders such as papers, elements, etc. Those that use this type of folder system generally make sure that their folders show a preview of what is inside it. To do this you can simply go into each kit, duplicate the preview, rename it to "folder.jpg" (even if it is a png file) and the Windows folder will show the thumbnail. For this reason, users who use this method prefer that designers name their previews "folder" so they show the image preview on the folder.

Still others (myself included before I switched over to ACDSee) made use of either Photoshop Album or the Organizer within Photoshop Elements. The beauty of this method is that you can assign a kit and its contents to multiple categories that you create. For instance, a kit could be filed under Page Kits, Heritage, and the color Brown, easily allowing you to search under any or all of these categories. In addition, kits could be stored on CDs or DVDs and still be accessible and easy to find. The one pitfall in using this system (as I quickly found out!) is that the database bogs down after about 20 GB of stuff. Now you may think that you will never have that much stuff . . . BUT YOU WILL!

There was a brief interlude where I tried using Digital Scraproom to organize my supplies. This was a database designed for scrappers and looked promising. Unfortunately, it bogged down and made it very difficult to use. It is now defunct.

A major problem with all of the above organizing methods is that .png files do not preview properly. This is especially problematic for digital scrappers .png is the format used for elements and alphas. Not being able to properly preview these items is not very helpful!

Then I discovered ACDSee! My digital scrapping life improved dramatically! I was quickly able to organize my supplies according to several different categories and even store them off my hard drive in CDs and DVDs. I did not have to rename my kits or copy them into special folders. I could easily conduct searches for my supplies across categories. Life was sweet!

To help with my changeover to ACDSee, I came to rely on Connie and Heidi of DigiScrapInfo. They are definitely the ACDSee gurus of the digital scrapping community! At their site you will find everything you need to get started using ACDSee and I recommend that you go there to check out their wonderful tutorials BEFORE you start organizing with ACDSee. They have excellent categories that you can download and use in the program instead of going to the trouble of creating your own!

Now, if that wasn't enough, DigiScrapInfo now offers videos that show you how to use ACDSee! What will these two ladies come up with next to help us organize? I can hardly wait! You can download a 30 day trial of ACDSee Photo Manager 9 to help you get started. You will also want to sign up for updates from their blog so you can keep up with all the great ACDSee information that they share.

For any of you who use Macs, unfortunately ACDSee was designed for the Windows platform. However, there is a program called Shoebox that you will want to investigate. Katie, a Shoebox user, was a guest blogger at DigiScrapInfo and shared some great info on the program.

Monday, August 13, 2007

Sneak Peak and a Few Odds & Ends - UPDATED!

The time is drawing nearer . . . when I can actually open the doors to DreamScrapper.com! Today I am offering you a little sneak peek. Be aware that you really MUST see the product because the preview cannot show it to its fullest potential. Be sure to click on the image below to see the detail in this preview.


You will definitely want to get this for all your Fall layouts . . . and this sneak peek is just showing you the papers . . . just wait!


Now for a few tips I have picked up in the last few days . . .


Boring Photoshop/Photoshop Elements Desktop Color

Have you ever wanted to change the color of your Photoshop or Photoshop Elements desktop? You know, that boring grey color that surrounds the maximized layout or photo on which you are currently working? Well, there IS a way to do just that!

  1. First, you must have a document open.
  2. Maximize the document by double-clicking the top bar of its window.
  3. Select the color that you want by clicking the Foreground color.
  4. Select the Paint Bucket tool.
  5. Shift-click on the desktop with the Paint Bucket. This color will stay until you change it to something else or reset your Photoshop preferences file.
  6. If you ever want to change back to the grey color that you had before, you can simply select the Eyedropper tool and click and hold on the Photoshop desktop and then drag over to one of the palettes until the color changes back to grey. If you just want to select the grey color, click on the foreground color and type c0c0c0 in the box beside the #. (That's C-zero-C-zero-C-zero)


Missing .PSD Thumbnails in Windows Explorer

Have you ever been frustrated because you cannot view a thumbnail for your Photoshop or Photoshop Elements files when viewing files in Windows Explore? Tell me, what use is it to see a colored square with .PSD on it? If this is the case for you, you will want to get ThumbView.


Unzipping Files

Are you still unzipping your downloaded files the old fashioned way? By that, I mean one by one by one. If this describes you, you need to UnZipThemAll. Load up all your downloads, whether they be .zip files, .rar files or some other type of archive file and let 'er rip!
Be sure to check out the way that you can customize the unzipping and file destinations.


UPDATE

I'm not sure what I was thinking when I posted about UnZipThemAll but though I have used and really liked it, I now use another program called ExtractNow. You will also want to try this one as I like it even better than UnZipThemAll.

Sunday, August 12, 2007

DreamScrapper.com Opens This Week!

Just a very quick post today . . . I am at work on last minute details because of my store opening this week.

Woohoo! I'm excited! I have been hard at work getting the website together and designing and finally, it is just about time for the launch! I will be offering a fabulous store opening special so be sure you sign up for my email updates or check back here to find out the actual day and time of the opening!

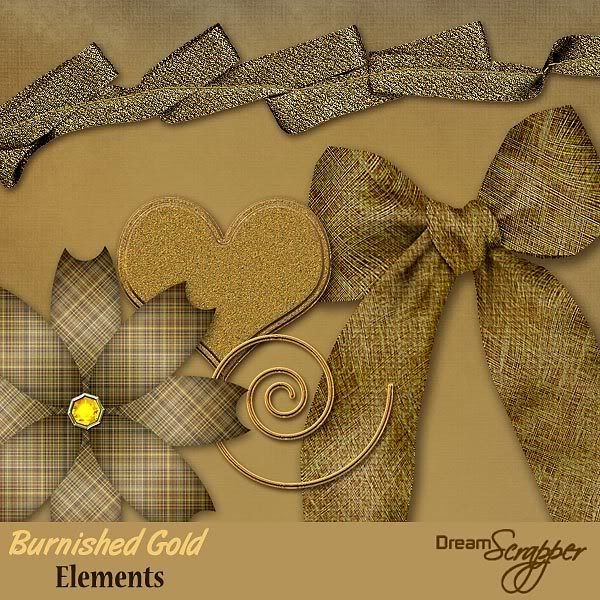
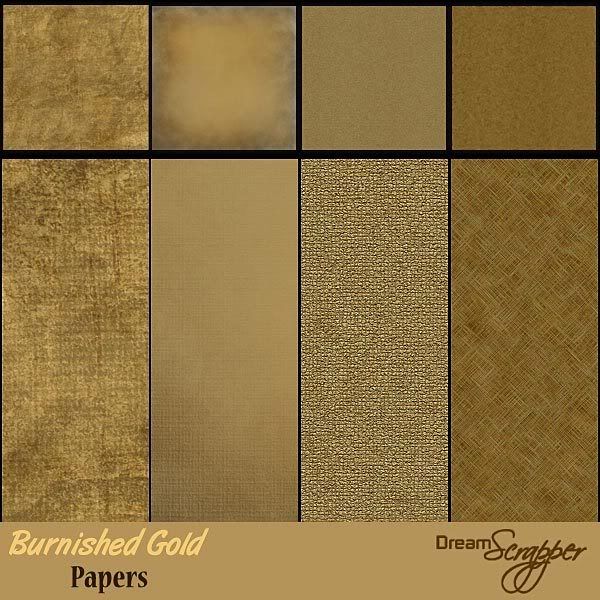
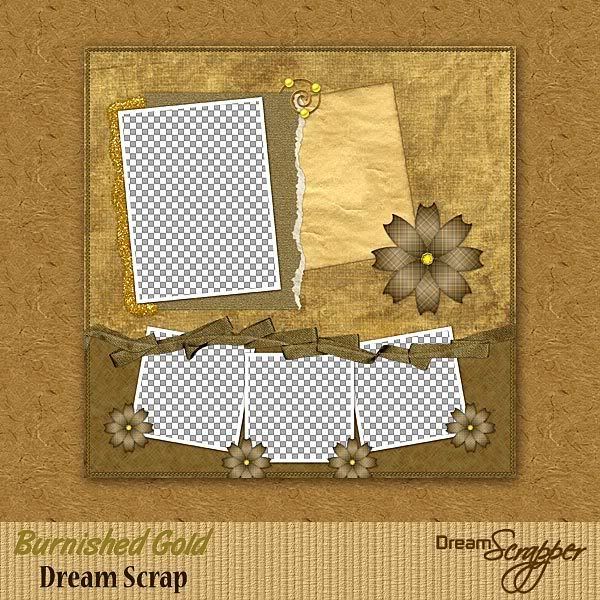
For those of you after freebies, be sure to grab the Burnished Gold Papers and Elements before the store opens.

Friday, August 10, 2007

Scrapbooking Shortcuts for Photoshop and Photoshop Elements

I use a number of keyboard shortcuts in Photoshop (PS) and Photoshop Elements (PE) to help me work faster and more efficiently. I hate having to dig through menus to find a command when I can execute it easily with a couple of keys!

Tonight, I have prepared my list of favorite shortcuts - the ones that I find useful and use frequently. I do not use ALL the shortcuts that are available for PS or PE - I draw the line at having to stand on my head while holding down five or more different keys at the same time, using various parts of my body, in order to execute a command! There is only one shortcut that I will list here that uses four keys at the same time but the shortcut is so useful to me and I use it so frequently that my dexterity has improved considerably since I began using it!

It is my hope that you will try out some of the keyboard shortcuts on my list and find the ones that work the best for you. Once you have those ones memorized, you can always add more shortcuts to your scrapbooking arsenal, a few at a time.

Control+A . . . selects all of a layer or all of text that you are editing at the time

Control+C . . . copy a selection of text or something that is selected with a marquee of some sort

Control+D . . . deselect

Control+E . . . select layers and then you can merge them together or if you are on a layer and choose this shortcut, you will merge down to the next layer

Control+I . . . this will invert colors on your current layer (black will become white, colors will change to their complementary colors)

Control+J . . . this is a BIG favorite of mine! This will duplicate the current layer or duplicate the current selection to a new layer. MUCH faster than right clicking and choosing duplicate.

Control+N . . . brings up the Create New Document dialog box

Control+T . . . Free Transform (thus the "T") and from here, I can right click to choose Distort, Skew, etc.

Control+V . . . pastes - this will be pasted onto a new layer so you don't have to create one first

Control+X . . . cuts the current selection

Control+V . . . temporarily lets you switch to the Move Tool from a different tool

Control+Z . . . backup one step (PS) or multiple steps if you repeat it in PE

Alt+Backspace . . . fills the current layer or selection with the foreground color

Control+Backspace . . . fills the current layer or selection with the background color

Control+Shift+I . . . this will inverse a selection

[ . . . using this square bracket key allows you to make your paint brush smaller

] . . . makes the paint brush bigger

D . . . using this letter will reset your color swatches to the default colors of black and white

X . . . swaps the foreground and background colors, whatever they may be

V . . . switches to the Move Tool


Now for my ultimate favorite shortcut . . . drum roll, please! . . .


Control+Alt+Shift+E . . . in PS, select your top most visible layer and this shortcut will merge all visible layers/effects to a new layer while leaving the existing layers intact. To execute this tricky shortcut, I use my ring finger on the Control key, middle finger on Shift, pointer finger on Alt and use my right hand to add the E. In PE, you will need to create the layer first.

One more set of shortcuts that is a life saver and works in both PS and PE is to easily center something on a layer (especially crucial to PE since there are no guidelines to use) . . .

  1. Control+A to select the entire layer.
  2. Control+X to cut the entire layer.
  3. Control+V to paste it back again. It will be exactly in the center of your document!
(Special note: This will NOT work with shapes - the layer must be rasterized first.)


I am sure there are other invaluable shortcuts that you have found to be useful. If you would like to leave me a suggestion for a useful shortcut, I will add it to the list here!

Thursday, August 9, 2007

Store Opening Approaches and a Freebie

I announced back in my DreamScrapper Blog Debut! that I was going to be opening my own store. I have been hard at work, both designing and setting up the store. It seems that things are finally coming together and my store opening is just around the corner! Be sure to check this blog for the announcement of my Grand Opening!

In the meantime, here is part 2 of the Burnished Gold mini kit. I have received many heartwarming comments on this and my other offered freebies . . . it really is a pleasure to read them. I appreciate all those who have taken the time time leave me a comment either on my blog or at the download itself. I am hopeful that you will have had a good sampling of the quality of my designs and that you will continue to enjoy my work by frequenting my store!

Now, on to the freebie! Tonight I offer you the Burnished Gold elements. Enjoy them and please leave me a comment! Also, if you do make a layout with this or any of my other offerings, please contact me so I can post your layout here. I would love to see what you do with my designs!

This file is no longer available for download.
Thank you for your interest!

Wednesday, August 8, 2007

Burnished Gold Freebie!

Two-part freebie this week - Burnished Gold. Today I have the papers for you. Stay tuned for the coordinating elements!

This file is no longer available for download.
Thank you for your interest!


Thank you to Tandika Star and DigiScrapDesigner for items used in the creation of this product.

Tuesday, August 7, 2007

Heritage Layouts: Mementos of the Past - UPDATED

There is something so alluring about looking at photos from the past. Even if the identity of the people is unknown, the setting, the outdated yet somehow exotic clothing, the expressions on the subjects . . . all these details combine to pull you into the memories captured on film.

Genealogy is a hot ticket item right now and many people are pursuing the search for their ancestors. Documenting your family’s history can definitely be a labor of love and one that often involves creating heritage layouts. I think that this is one place that digital scrapbooking has the advantage over the traditional paper scrapbooking. Once your relatives see the lovely layouts you have created, they will want copies for themselves! Can you imagine having to create multiple copies of traditional layouts? I think that burning multiple CDs or DVDs with layouts ready for print would definitely be the way to go!

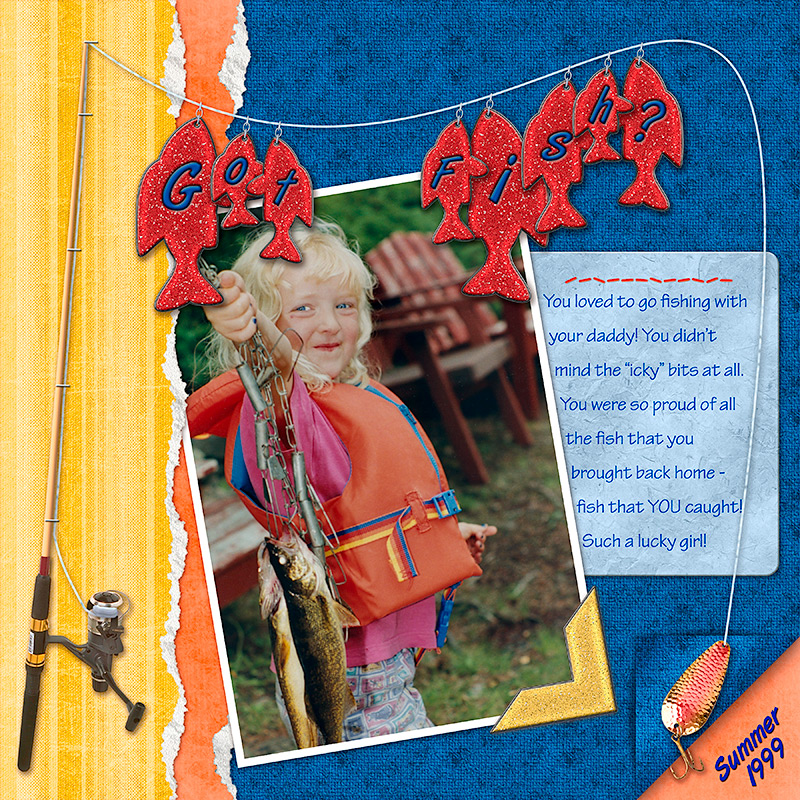
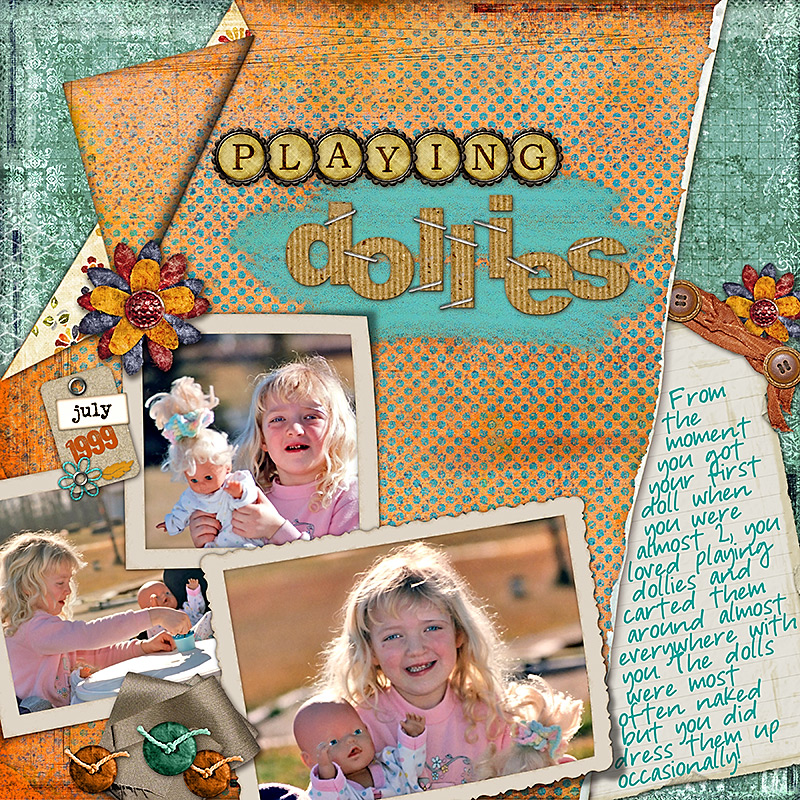
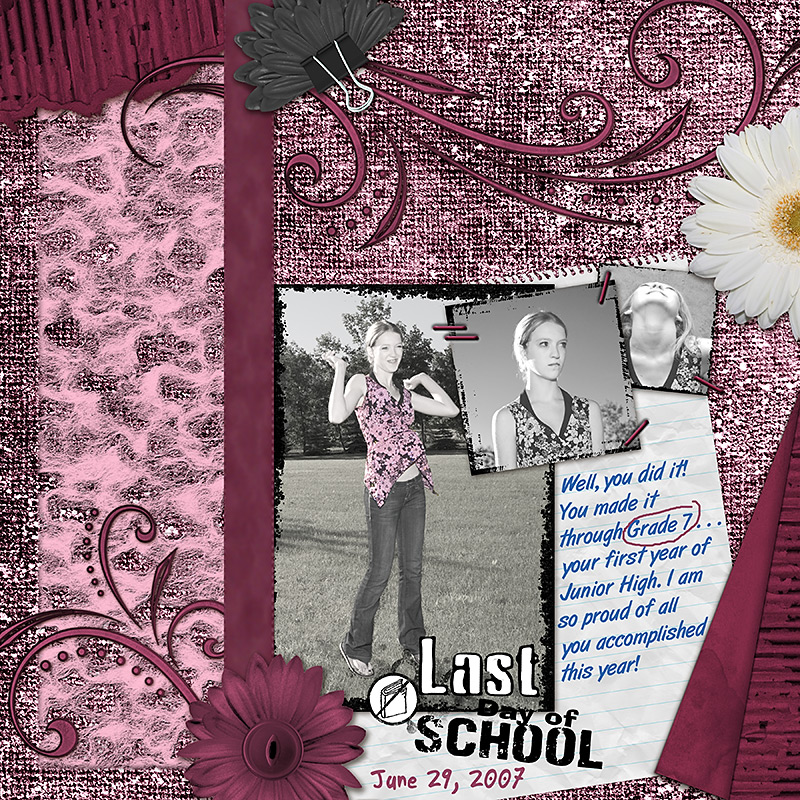
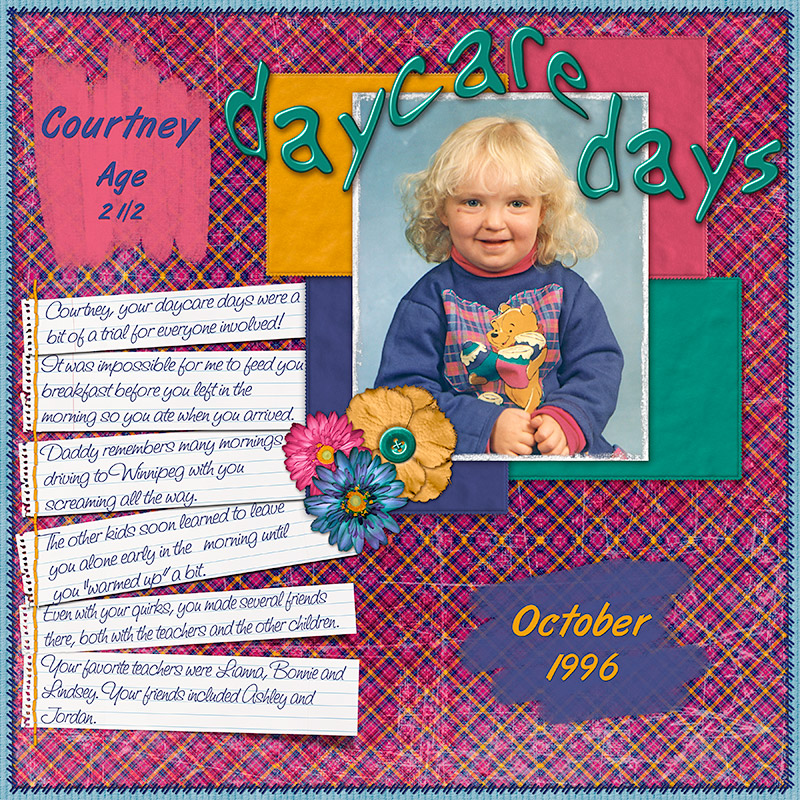
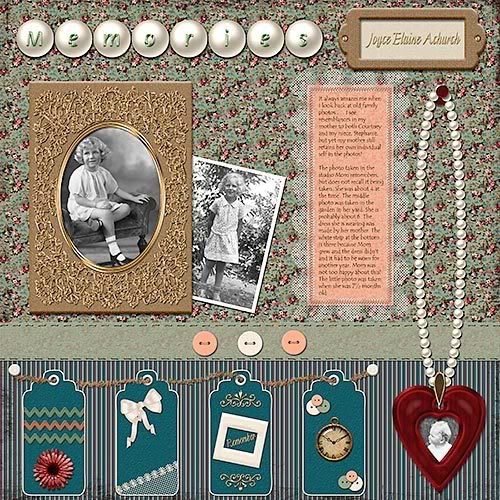
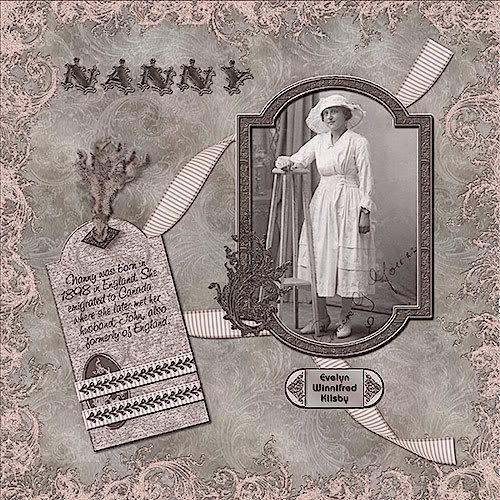
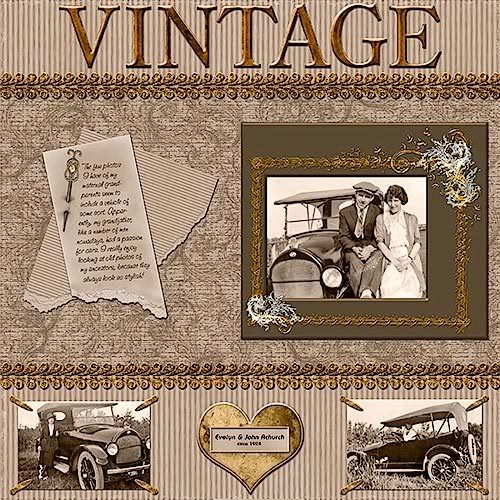
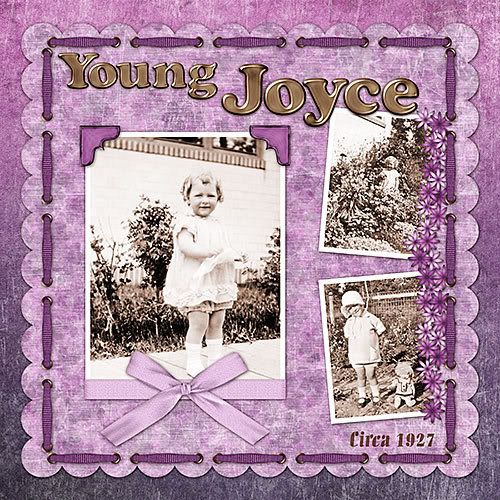
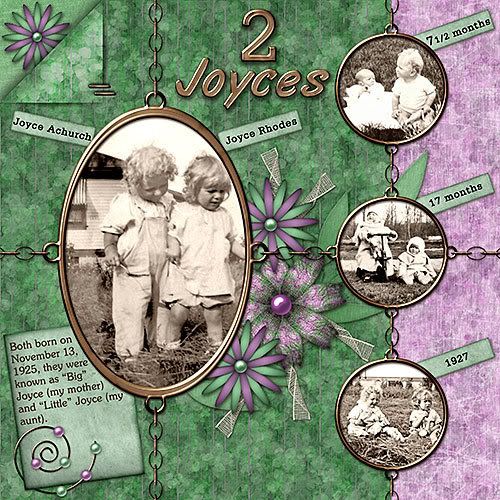
Below are a few of my heritage layouts.


My very first heritage layout.

Click image for full credits

Click image for full credits

Click image for full credits

Click image for full credits

Click image for full credits

Some resources on heritage layouts you may want to check out:

It's a Totally Tips Day! How to Begin Scrapping Your Heritage
Doris Castle offers a number of tips for getting started and also some links to genealogy sites.

Digital Scrapbooking With Your Coat of Arms
A nice post on the meaning behind a coat of arms and how to use it on your layout.

Vintage Photoshop How To: Part 1
A very in-depth tutorial showing how to achieve a very realistic vintage look to your photos.

Products for Heritage Layouts
This product gallery on Digishoptalk will show you products suitable for use in heritage layouts and albums.

Inspiring Heritage Layouts
This gallery at Digishoptalk should give you plenty of ideas for creating heritage layouts.

What Heritage Means to Me
This post by Hummie is very thought provoking . . . it makes for a very good read if you are interested in your family's heritage.

Monday, August 6, 2007

A Couple of Things . . .

Well, I shouldn't be surprised by this but I am a little DISAPPOINTED! In checking my blog stats, I found out that some people are hot linking to my freebies. What is hot linking? It is the practice of passing on a link which goes directly to a download, bypassing a website or blog address. This in turn causes bandwidth at the download site to swell but also means fewer "hits" for the original post site.

Now, I have no problem with people passing on links for my freebies but I would very much appreciate that the links come to DreamScrapper. If you know of anyone who is hot linking to files, please advise them of the proper link.

~~~~~~~~~~~~~~~~~~~~~~~~~~~~~~~~~~~~~~~~~~~~~~~~~~~~~~~~~~

The poll is now closed. As I anticipated, freebies were the main draw but a close second were scrapbooking techniques and tutorials. Be assured that I will continue to offer freebies and techniques and tutorials. If you have input as to the type of techniques and tutorials you would like to see, please email me or leave me a comment.

Saturday, August 4, 2007

Getting Started in Digital Scrapbooking

This blog post is for newcomers to digital scrapbooking. First, welcome to the digital scrapbooking community! You will find that there are a lot of knowledgeable people willing to help those who are starting out by sharing techniques and answering your many questions.

One of the biggest hurdles for those of you making the switch from paper to digital is to understand the digital terminology and how it equates with the traditional paper scrapbooking tools and techniques.

To help you with this I will point you to the Artful Crafter where she outlines six tools/techniques that you will able to use in either Photoshop or Photoshop Elements.

You will also want to check out some of my previous posts for more tools of use to you in digital scrapbooking:

  1. Tools for Digital Scrapbooking
  2. Kit and Kaboodle
  3. If You Use Photoshop or Photoshop Elements, You May Need an Adjustment
  4. Forum Acronyms Revealed
If you are a newcomer to digital scrapbooking, I would love to hear from you. Leave me a comment to say that you dropped by and be sure to look around my blog for links to my favorite digiscrapping sites and blogs.

Friday, August 3, 2007

Friday Freebie!

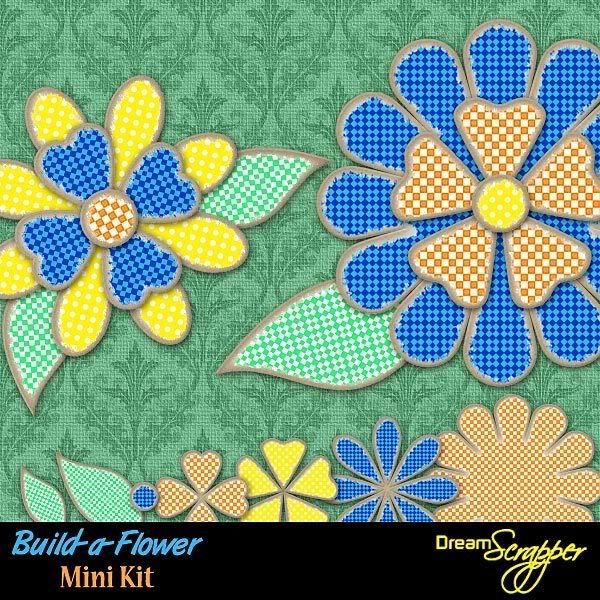
Today I have a cute little flower kit for you. This Build-a-Flower mini kit consists of several paper-covered chipboard flower pieces with which to build your own flowers. Included are three different colors and patterns with five different flower parts and two sizes of leaves. Have fun building your own flower combinations!

This file is no longer available for download.
Thank you for all your comments on it!

Thursday, August 2, 2007

If You Use Photoshop or Photoshop Elements, You May Need an Adjustment - UPDATED

. . . layer, that is! If you are anything like me, when you are creating a digital layout you may decide to try things many different ways before deciding on THE way! The beauty of using adjustment layers is that you can reserve the right to change your mind not once, not twice, but as many times as you want during the building of your layout and you can change your mind about color, contrast, patterns . . . the list goes on . . .

So, what ARE adjustment layers, you ask? Adjustment layers are special layers that provide different types of adjustments to a layer or layers beneath them. These adjustments are editable at any time, even after saving and closing the layered file, unlike simply choosing to apply a Hue/Saturation adjustment, for instance. In addition, these adjustment layers can have their opacity adjusted as well as their layer blend modes, just like regular layers. You can turn these adjustment layers on or off to see how they affect things. If that wasn't enough, all adjustment layers come with a layer mask which allow you to apply the adjustment to all or just a portion of a layer(s).

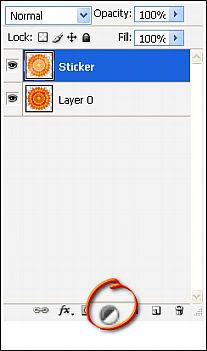
Icon for Add Adjustment or Fill Layer

Of course in Photoshop and Photoshop Elements, there are several ways to do things. To add an adjustment layer, you can choose Layer, New Adjustment Layer or on the Layers Palette you can click the icon that looks like a black and white beach ball. Your choice! Because there have been several tutorials written about adjustment layers, instead of reinventing the wheel, I will direct you to a few excellent resources to get you started using adjustment layers.


Photoshop Adjustment Layers 101
This is an excellent place to start learning about adjustment layers!

How to Use Layer Masks and Adjustment Layers in Photoshop Part 2
This resource is a video tutorial. It would be helpful for you to watch Part 1 which deals with layer masks, as they are mentioned in part 2. (Watch for a future blog post on layer masks!)

Using Photoshop Adjustment Layers
This is the most in-depth resource that I found on adjustment layers.

Tinting Tutorial
One other source of information on Adjustment Layers comes from Hummie. She shows ways to convert to black and white and tint a photo using a hue/saturation adjustment layer and also a way to tint a photo using the photo filter adjustment layer. This link takes you to the main tutorial page. Scroll down to find the tinting tutorial.

So, if you like to have flexibility in designing your digital layouts (and isn't this one of THE advantages to scrapping digital?) you will definitely want to try using adjustment layers!

Wednesday, August 1, 2007

Summer Frenzy Add-on Freebie Re-issued

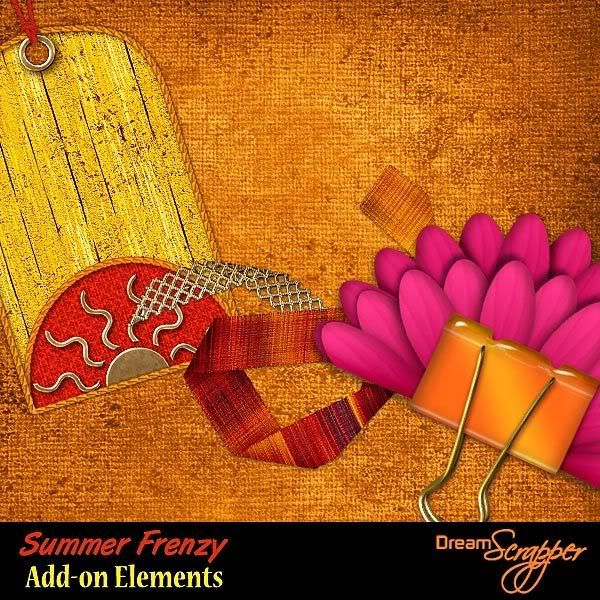
Oooooooops! There was something about the clipped flower cluster in the Summer Frenzy Add-on that has been bugging me. Something just didn't look right. Finally, I realized what it was . . . in placing the clip, I turned the clip the wrong way! Because of this, I have re-issued the freebie. I have also included both a shadowed and unshadowed version of the cluster in the download. If you downloaded the original, be sure to download this newest version so that your cluster looks like it is supposed to look!

This file is no longer available for download.
Thank you for all your comments on it!


Be sure to leave me a comment if you download!

Also, I have had a few comments by people who have missed my freebies because the links were no longer available. My freebies will not have an indefinite expiry date so you are best to grab them as soon as you see them! However, all my freebies will be placed in my store when it opens so if you missed something, you will be able to pick it up there. Once my items hit the store, you may want to take advantage of adding them to your Kaboodle, as outlined in my Kit and Kaboodle post. Be sure to add tags to them such as "summer frenzy" and "dreamscrapper" so that when I want to RAK someone, I can do a search in Kaboodle and find people who have my items on their list.